Neutral Density (ND) filters are essential for controlling the amount of light that enters the camera’s lens, allowing us to lower the shutter speed to achieve natural looking motion blur.
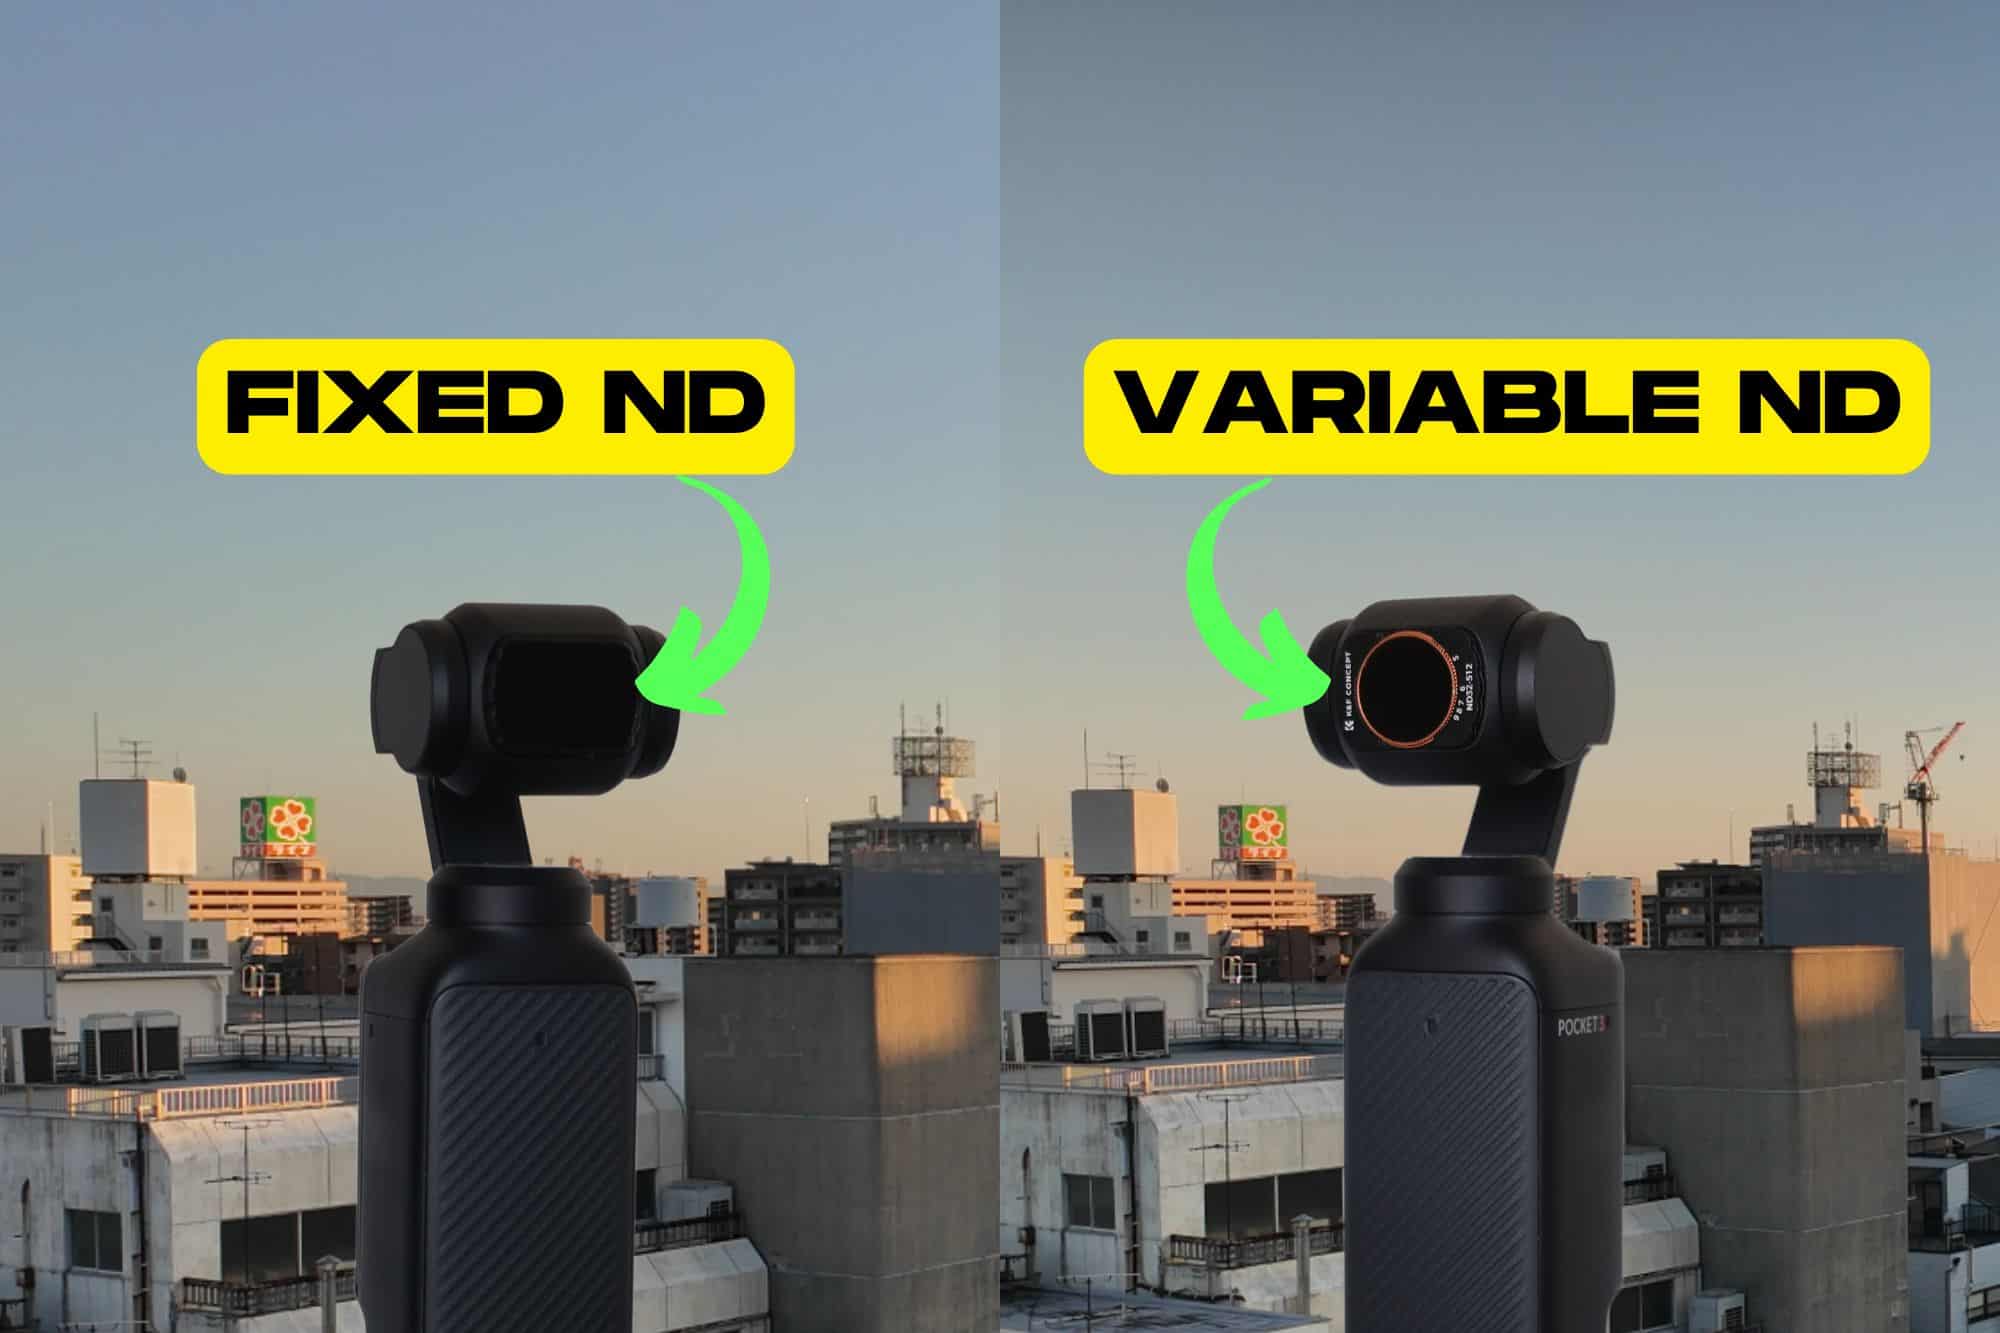
For the DJI Osmo Pocket 3, most available ND filters are fixed, meaning they reduce light by a specific amount. To change the intensity of the filter, you need to switch to a filter with a different ND rating.
However, there’s an alternative: variable ND filters. These filters let you adjust the light reduction simply by turning a dial, offering more convenience and flexibility.
Video version of this post:
The Inconvieniences of Fixed NDs
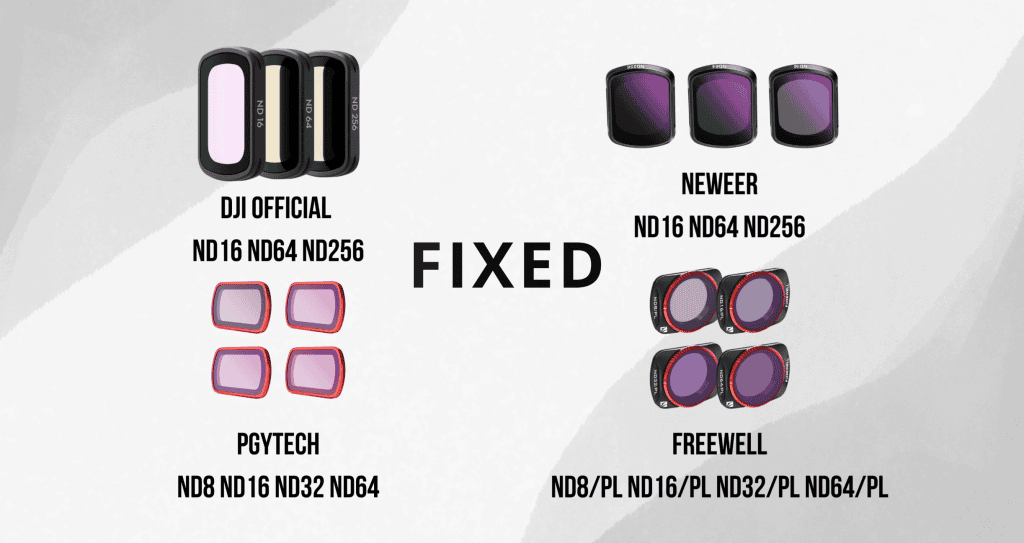
Until recently, I had been relying on this K&F fixed ND filter set for my Osmo Pocket 3. However, I recently purchased these variable ND filters from K&F, and in this video, I’ll share why I picked them up and will also discuss the drawbacks I encountered when using variable ND filters.
Changing Them Is A Hassle
While these fixed ND filters were good, I found the inconvenience of changing them to be less than ideal for the ‘run and gun’ style of shooting that I normally do. This is a common issue with using fixed NDs for video, but the issue is amplified by the small size of the Pocket 3, which makes attaching or removing thinner magnetic lens attachments, like ND filters, quite tricky.
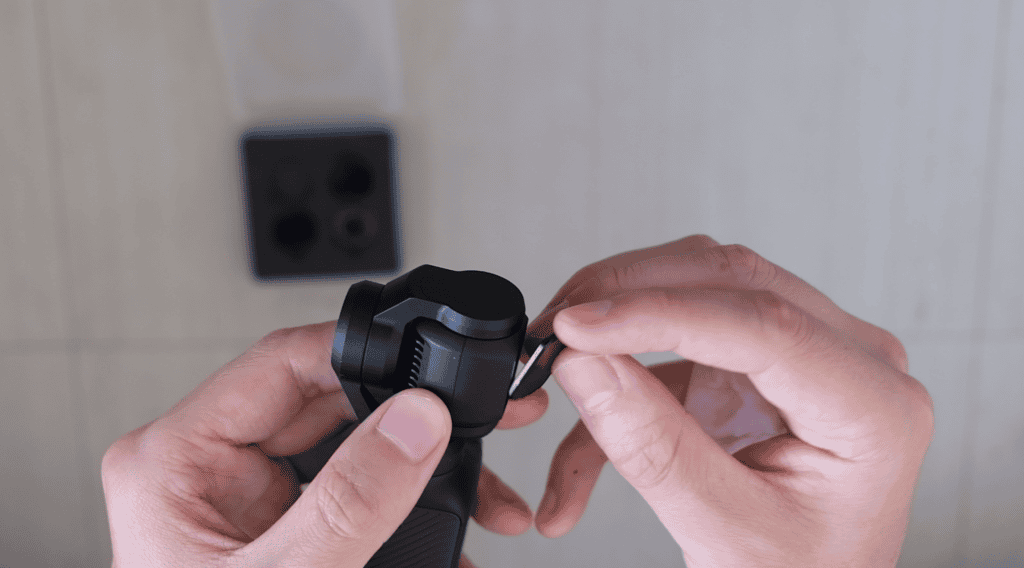
I dropped them countless times while trying to switch filters. Fortunately, they’ve never broken, but the hassle was enough to make me reconsider. I needed a solution that would minimize how often I would have to change filters.
Of course, it’s not always necessary to switch ND filters when lighting conditions change, as the camera’s auto ISO feature can adjust to some extent. However, to maintain optimal image quality and minimize noise, it’s best to keep the ISO within a fairly narrow range.
Gotta Get ‘Em All!
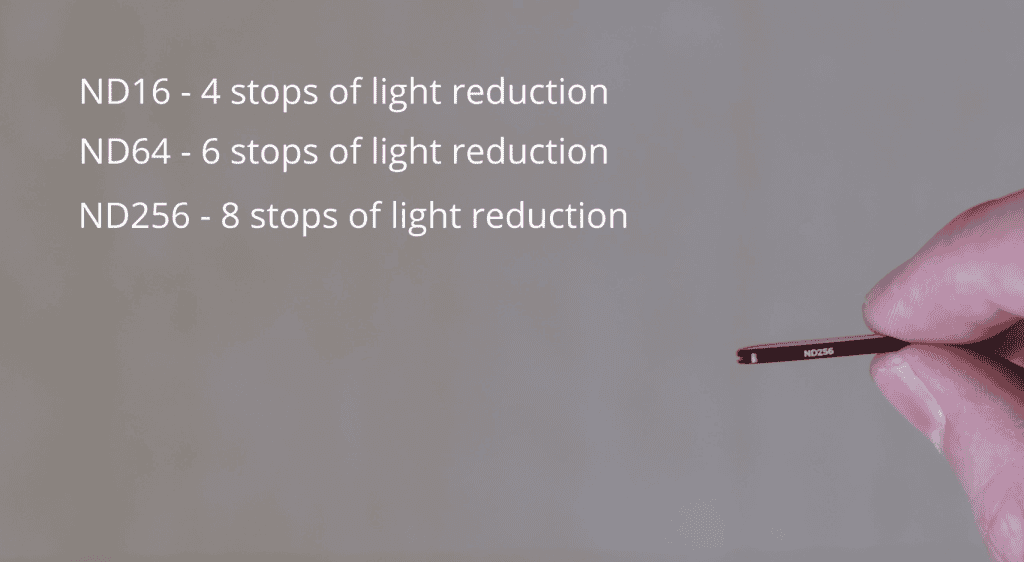
This brings me to my second point: the fixed ND filters I purchased—rated ND16, ND64, and ND256, corresponding to 4, 6, and 8 stops of light reduction—weren’t always ideal.
The ND256, for instance, is rarely needed outside of specific scenarios like taking timelapses in sunny conditions with a really slow shutter speed. Often, I found that an ND8 or ND32 would have been more suitable for my shooting conditions.
One option would be to invest in more fixed ND filters to fill the gaps or purchase a comprehensive set like the Freewell mega kit. However, not only would this approach end up costing a lot, but it would also reduce portability and involve frequent, cumbersome swaps.
So going down the variable ND route just seemed to make a lot of sense. Variable ND filters allow you to change the strength within a range by rotating the dial, which means not only would I not need to swap them as often, but I also don’t need to buy more individual fixed NDs, since between the these two ND filters, I can cover 1 to 9 stops of light reduction.

The Downsides of Variable ND Filters
While Variable NDs do have drawbacks, these are generally more tolerable in video production than in photography, where precision is often more critical.
So what exactly are these downsides to using variable ND filters?
Color Shift
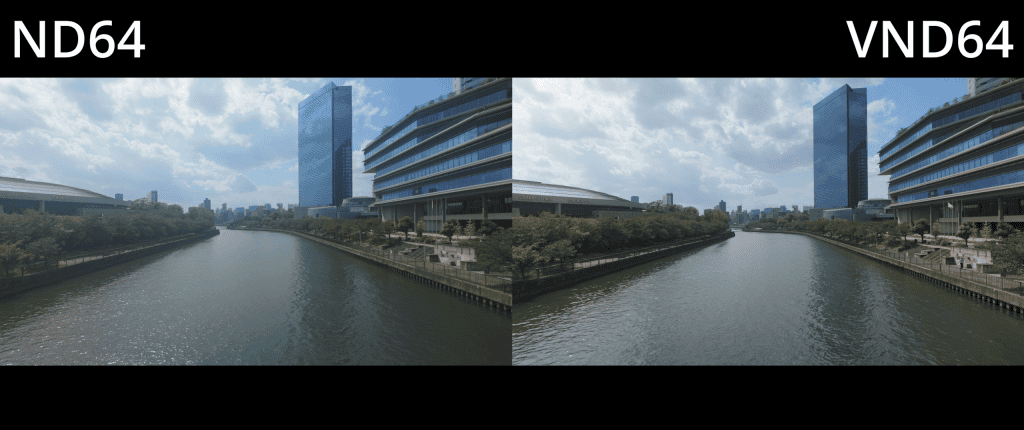
Perhaps the most obvious one is color shift. Variable ND filters work on the principle of two stacked polarizers, meaning they’re more prone to color shifts than fixed ND filters. While it was noticeable, it wasn’t too extreme and keep in mind various corrections can be applied in post.
More Glass
Additionally, because variable NDs involve more glass, using them can often result in a softer image or introduce vignetting around the edges of your shots. However, the variable NDs I had didn’t have any noticeable traditional optical vignetting caused by the extra thickness of glass compared to fixed NDs.
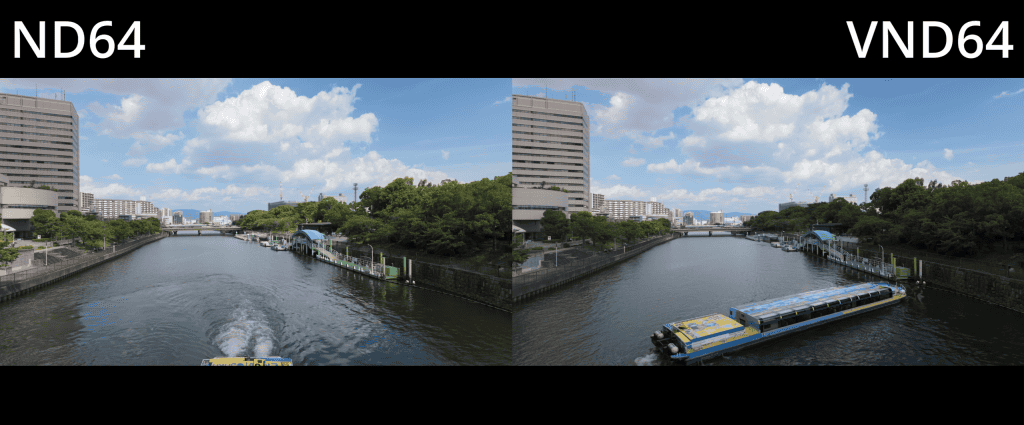
As you can see from these comparisons, the color shift wasn’t too extreme and keep in mind various corrections can be applied in post. There also wasn’t noticeable traditional optical vignetting caused by the extra thickness of glass compared to fixed NDs.
Polarization Artifacts
There is also the potential for darkened corners and cross pattern artifacts, which typically only become a problem as you are approach the upper limits of variable NDs.
As I crank up the ND setting to the highest value on the ND2-32 filter, notice some darkening towards the edges.
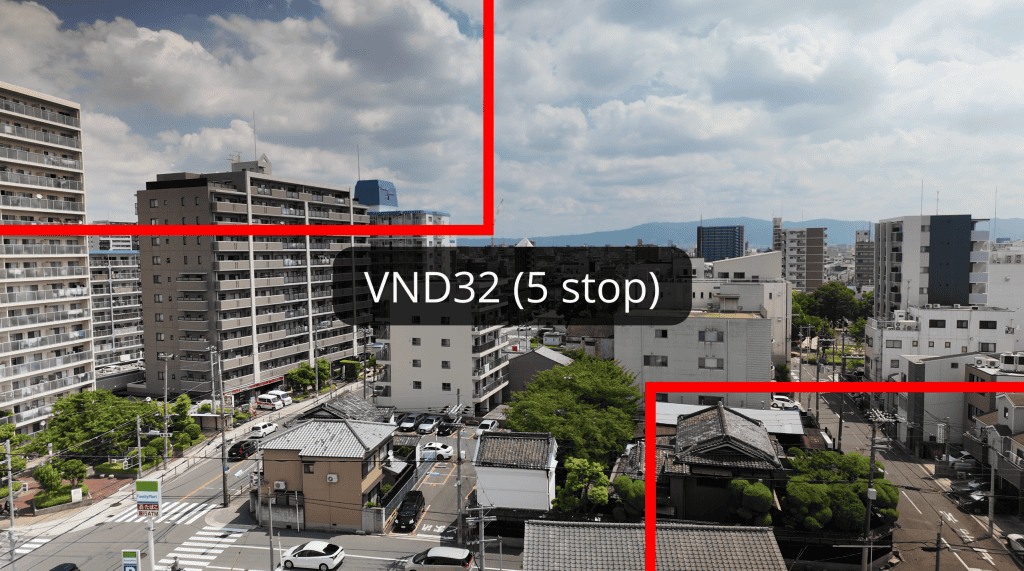
Going beyond the highest ND setting induces the cross-pattern, which occurs when the angle between the two polarizers is close to 90 degrees.
As a result, it’s important to note that you won’t want to use the highest ND32 or ND512 settings on the two variable NDs, as the polarization-induced vignetting becomes too noticeable.
Other VND Caveats
I also wanted to mention some other caveats of using VNDs. First, while they reduce the frequency of filter changes, there will still be instances when switching is necessary. This is because one VND covers a range of 1 to 5 stops, while the other spans 5 to 9 stops. As conditions change, there will be times when you might need to switch between the two filters or remove them entirely.
Secondly, although adjusting a VND by rotating the dial is easier than swapping filters altogether, it’s not without its challenges. The markings on these dials are very small and can be hard to read, and I needed to squint to stay within the desired ND strength range. Moreover, these VNDs lack hard stops, which means you run the risk of making accidental adjustments, and also means you can go into cross-pattern territory if you’re not careful.
Lastly, the polarizing nature of VNDs introduces some other unique quirks I haven’t yet mentioned.

For example, when filming screens like this LCD monitor, which emits linearly polarized light, the screen can appear almost completely black depending on the filter’s rotation. OLED screens don’t black out, but they can exhibit moire patterns.
You might also notice changes in glare levels, though these effects are generally less pronounced than those produced by a dedicated circular polarizer (CPL) filter.
Depending on your orientation to the sun, shooting large expanses of the sky can produce an uneven gradient in the sky due to uneven polarization across the scene. This is something I talked about in my post on polarizing filters for the Osmo Pocket 3.
Conclusion
Despite the drawbacks and quirks I just mentioned, the practical convenience of variable NDs is difficult to overlook. On sunnier days the ND32-512 covers all my needs, with the ND32 and ND64 settings being most useful. During golden hour, cloudy days or when indoors, I often found myself relying on the ND8 and ND16 settings.
So will these VNDs replace my fixed ND filters? To an extent, but not completely. I think I will use these variable ND filters when lighting is unpredictable and I’m constantly switching locations and subjects, for example when I’m traveling. But for planned filming where I can take as much time as I need, I’ll keep using the fixed ND filters to ensure more consistent quality.