Are you looking to add a dynamic and creative edge to your videos? If you own a DJI Osmo Pocket 3, you’re in luck! The Pocket 3 offers a variety of time-lapse modes that can transform ordinary scenes into captivating, fast-paced sequences. In this post, I’ll discuss the three types of timelapse modes available on the Osmo Pocket 3: ordinary timelapses, motionlapses, and hyperlapses.
These methods allow you to compress extended periods into short, visually stunning clips that are sure to enhance your video projects. Whether you’re a beginner or an experienced content creator, taking full advantage of these modes can improve your storytelling and add some flair to your video.
The Basic Timelapse
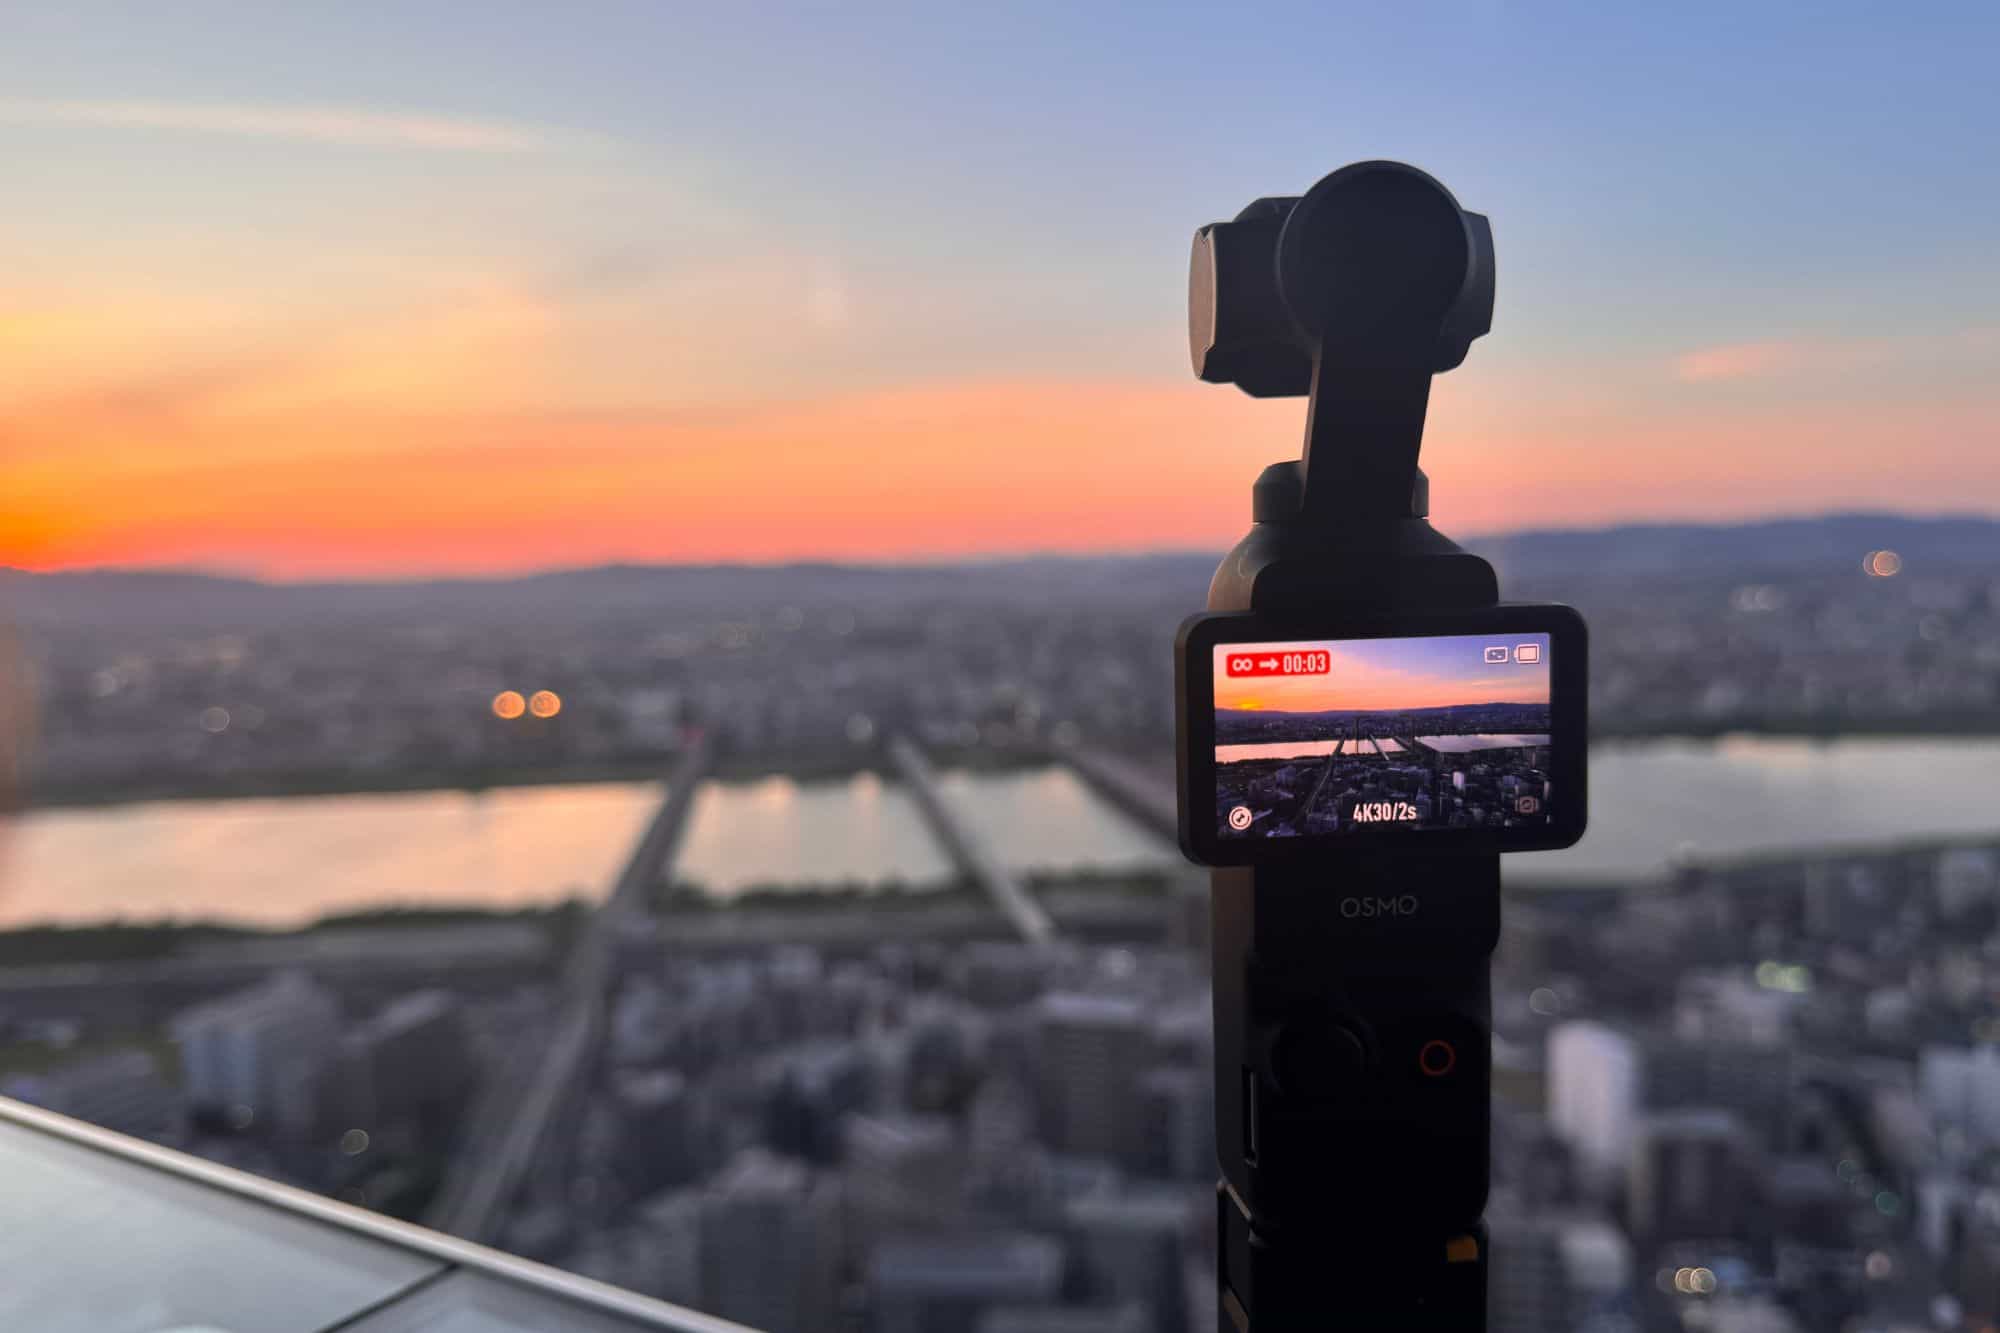
Let’s start with the ordinary timelapse, which is the mode I use most often. Remember, timelapses are actually photos taken at constant intervals and then stitched together, not a continuous video. The DJI Osmo Pocket 3 handles the stitching for us, so you don’t have to worry about doing that yourself as you would with a regular camera.
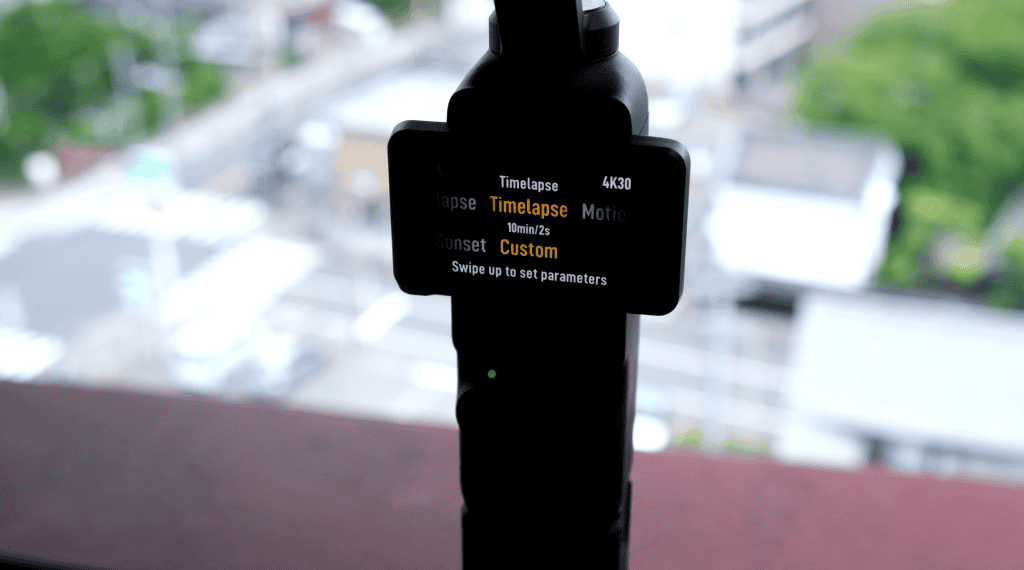
To start taking a timelapse, you first need to change the shooting mode to timelapse by pressing the icon on the bottom left, and then swiping right to the very last shooting mode.
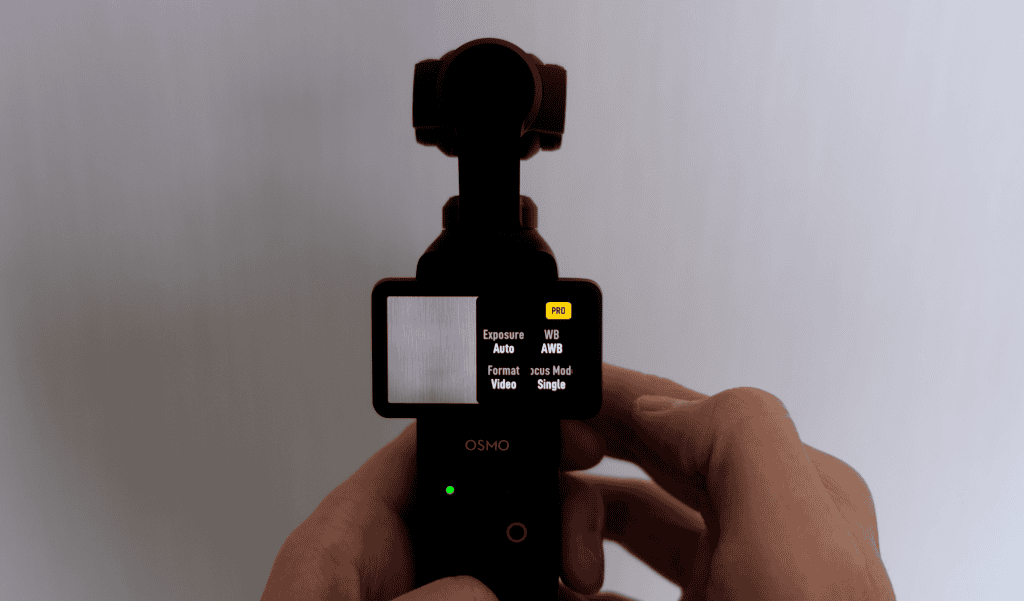
Once you’re in timelapse mode, you can swipe left from the right edge to enable Pro mode. This offers advanced control over camera settings like the shutter speed, and also the option to save the individual photos in addition to the video. However, for this tutorial, let’s stick to the standard mode.
Setting the Interval and Duration
Before you hit the record button, you should set things up by swiping up from the bottom of the screen. Notice how you can either select one of the scene presets, or use custom settings to manually set the interval and duration. I always choose custom for maximum control.
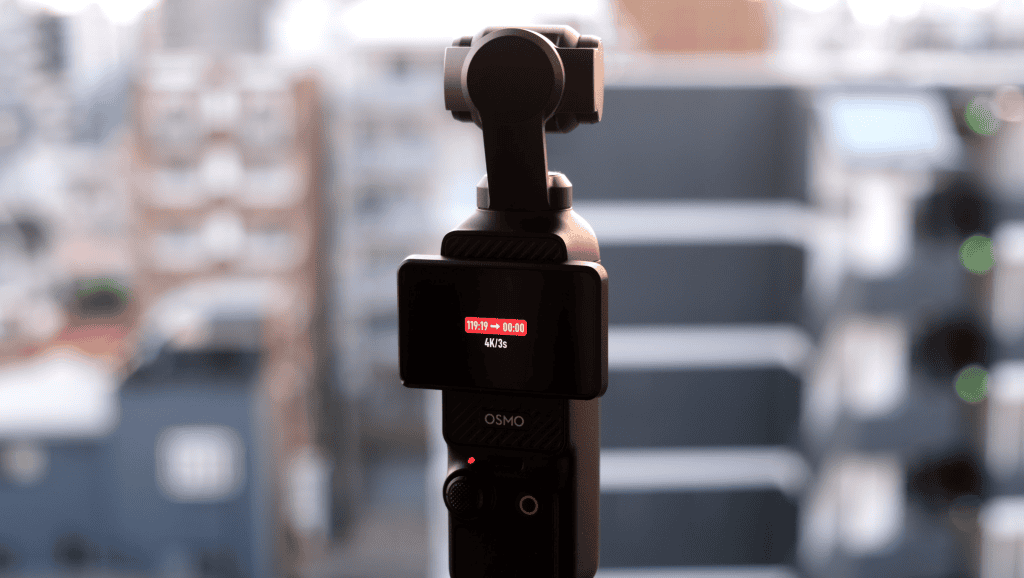
The interval determines the time between each photo, while the duration specifies how long the camera will record for, not the length of the resulting video.
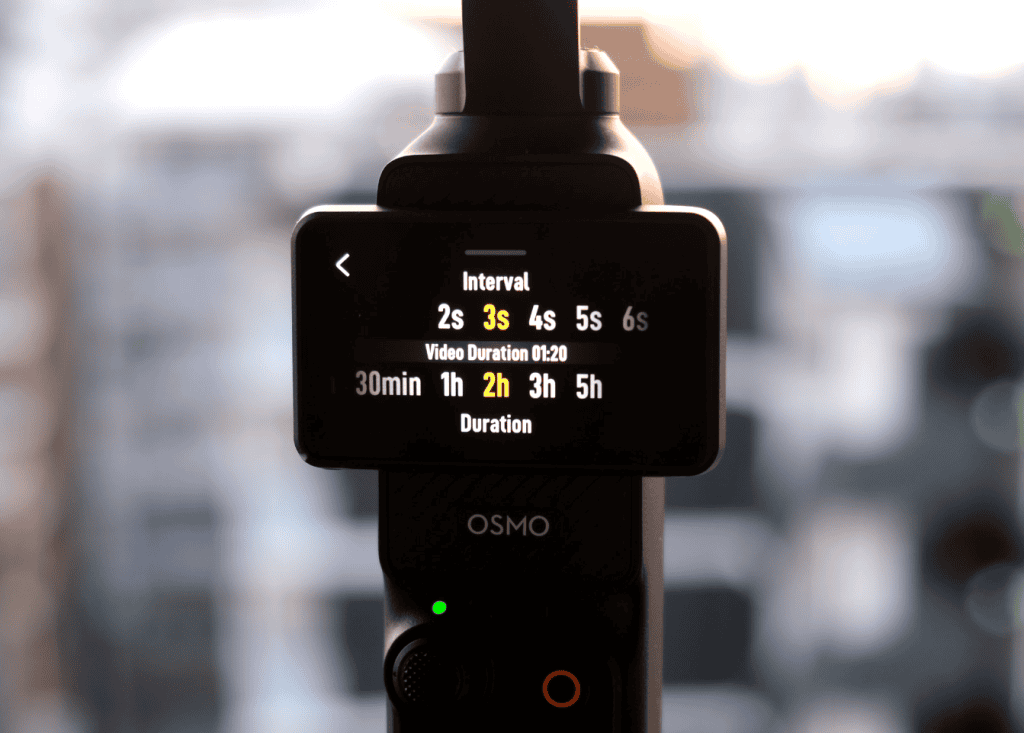
I usually like to set the interval to 2 seconds, meaning a photo is taken every 2 seconds. Generally, shorter intervals are better for scenes with faster movement, like crowds, while longer intervals work better for slower scenes, and take up less memory.
Low-power mode (moon symbol)

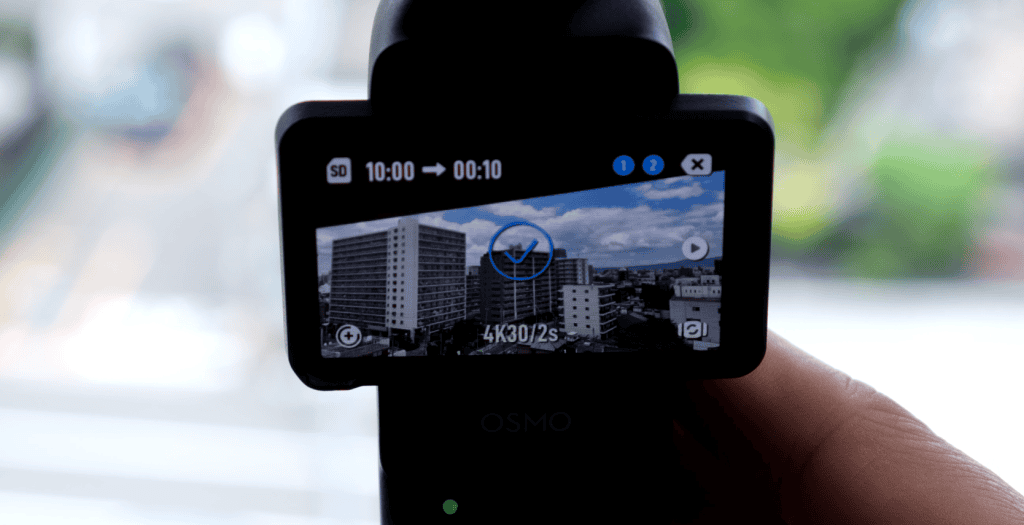
There’s one recommended setting when you’re taking longer timelapses. By tapping the moon symbol in the top left corner of the timelapse settings, you can toggle the low-power mode. This makes it so that after 10 seconds of starting the timelapse, the Osmo Pocket 3 stops showing an image preview and saves battery.
This feature can significantly extend your battery life, especially for timelapses that last several hours.
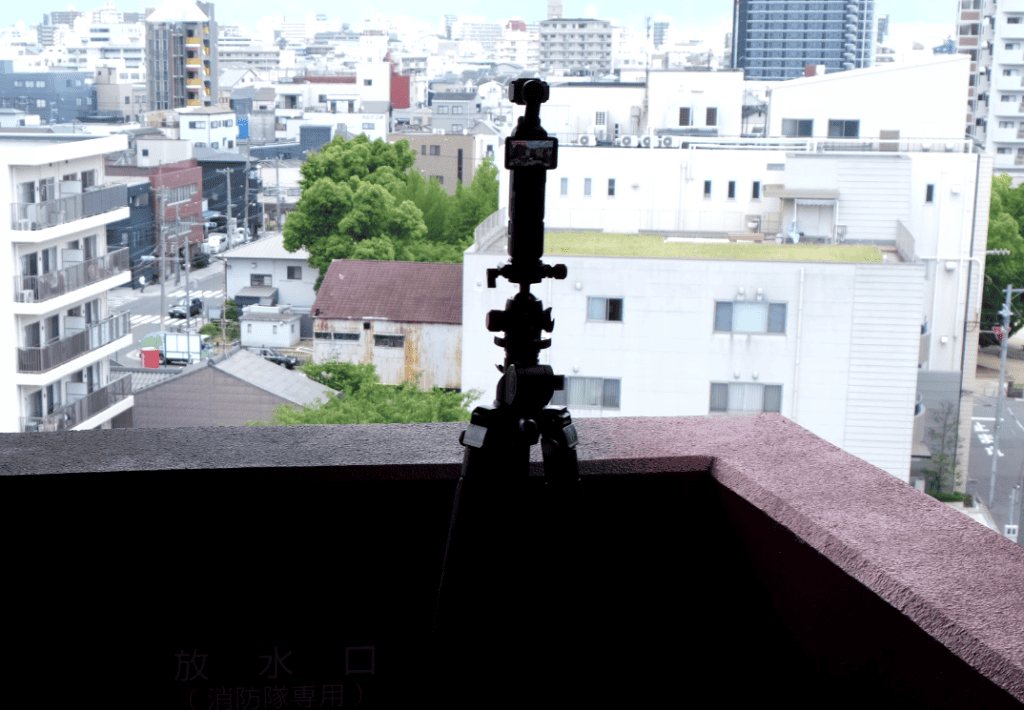
Use a tripod!
Now, you ideally want to shoot timelapses on a tripod or mini-tripod, but in a pinch, you can shoot handheld and stabilize the footage in post-production using video editing software. This process can help smooth out any camera shake, although it results in a slight crop and reduction in image quality.
Motionlapses
Let’s move onto motionlapses. These are timelapses that also incorporate camera movement, adding a dynamic element to the scene. Motionlapses are great for capturing subjects that are moving through the frame or for adding visual interest to a static scene.
Taking a motionlapse video is very similar to taking a timelapse, with the difference being that you need to select the desired motion of the camera during the motionlapse. LTR and RTL are simple left-to-right and right-to-left pans. Custom allows you to set between 2 to 4 custom waypoints for the Pocket 3’s camera to follow over the duration of the motionlapse.
Just like with timelapses, you’ll still need to set the photo interval and recording duration. It might not be obvious, but if you watch your Pocket 3 closely, you’ll notice it moving ever so slowly.
Hyperlapses
Finally, we have the hyperlapse, which is a type of timelapse that involves the camera moving over a significant distance. It creates a cinematic effect that transports viewers through space and time and is commonly seen in travel vlogs and sports videos. This is generally what you’ll want to use when you’re walking or driving around.
To achieve smooth hyperlapses, we need to use the hyperlapse mode instead of the standard timelapse mode. This is because the hyperlapse mode utilizes the Osmo Pocket 3’s built-in gimbal stabilization to counteract any camera shake or vibrations that may occur while you’re moving, resulting in a much smoother final video.
The notion of ‘Rate’
Now, you might notice that you don’t have the interval setting in hyperlapse mode, unlike timelapses and motionlapses. Instead, in hyperlapse mode, we set a rate, which is basically the rate at which the video will be played back relative to real-time.
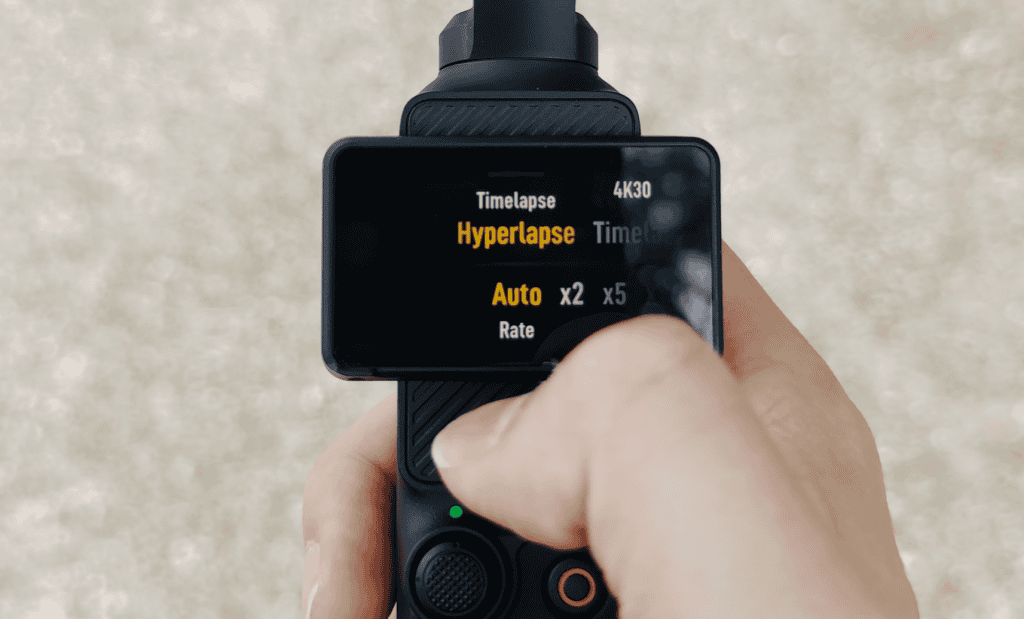
For example, a rate of 2x would result in a video that plays back twice as fast as real-time, while a rate of 0.5x would result in a video that plays back half as fast as real-time. Since we will be moving from point A to point B in a hyperlapse, this notion of rate is much more intuitive than thinking of things in terms of intervals.
Personally, I always use the auto rate setting, since this dynamically changes the rate as we move, ensuring that the final video looks smooth. The auto rate setting works by analyzing the camera’s movement and automatically adjusting the rate to maintain a consistent speed throughout the video. This is especially helpful when you’re moving at varying speeds or navigating through obstacles.
Keep a steady pace!
When recording a hyperlapse, it’s essential to try to keep a steady pace and maintain a consistent direction. Sudden changes in speed or direction can lead to jerky or disorienting footage, so try to move smoothly and deliberately. It may take some practice to get the hang of it, but with a bit of experience, you’ll be able to create stunning hyperlapses in no time!