After a week of experimenting with the DJI Osmo Action 5 Pro’s timelapse mode, I was genuinely impressed by the high-quality footage I managed to capture with this tiny, convenient action camera.
However, like any creative journey, mine wasn’t without its hiccups. Along the way, I ran into several unexpected issues—pitfalls that I wish I’d known about sooner. In this comprehensive guide, I’m sharing everything you need to know so you don’t have to suffer through those same setbacks, especially considering the time needed to create timelapses!
In this post, I’ll start with the basics—setting up your first timelapse and choosing the right interval—then move on to more advanced techniques. You’ll learn how to add motion blur, handle challenging light conditions, and even use AI tools to transform low-quality timelapses into stunning final pieces.
What Is a Timelapse?
Before diving into the specifics of the Osmo Action 5 Pro, let’s ensure we’re all on the same page about what a timelapse actually is. At its core, a timelapse is a filmmaking technique that involves capturing individual frames at set intervals over an extended period. When these frames are played back at a normal frame rate, the result is a dramatic compression of time that creates a unique, captivating visual effect.
Traditionally, timelapses were constructed by stringing together individual photos, making it as much a photography technique as a videography method. With the DJI Osmo Action 5 Pro, however, the process is simplified. The camera does all the heavy lifting for you, automatically processing and stitching your timelapse into a final video almost instantly.
It’s also worth noting that the Osmo Action 5 Pro supports hyperlapses—a variation where the camera moves significantly during the shoot. For this guide, though, we’ll focus on the classic, stationary timelapse.
Taking Your First Timelapse
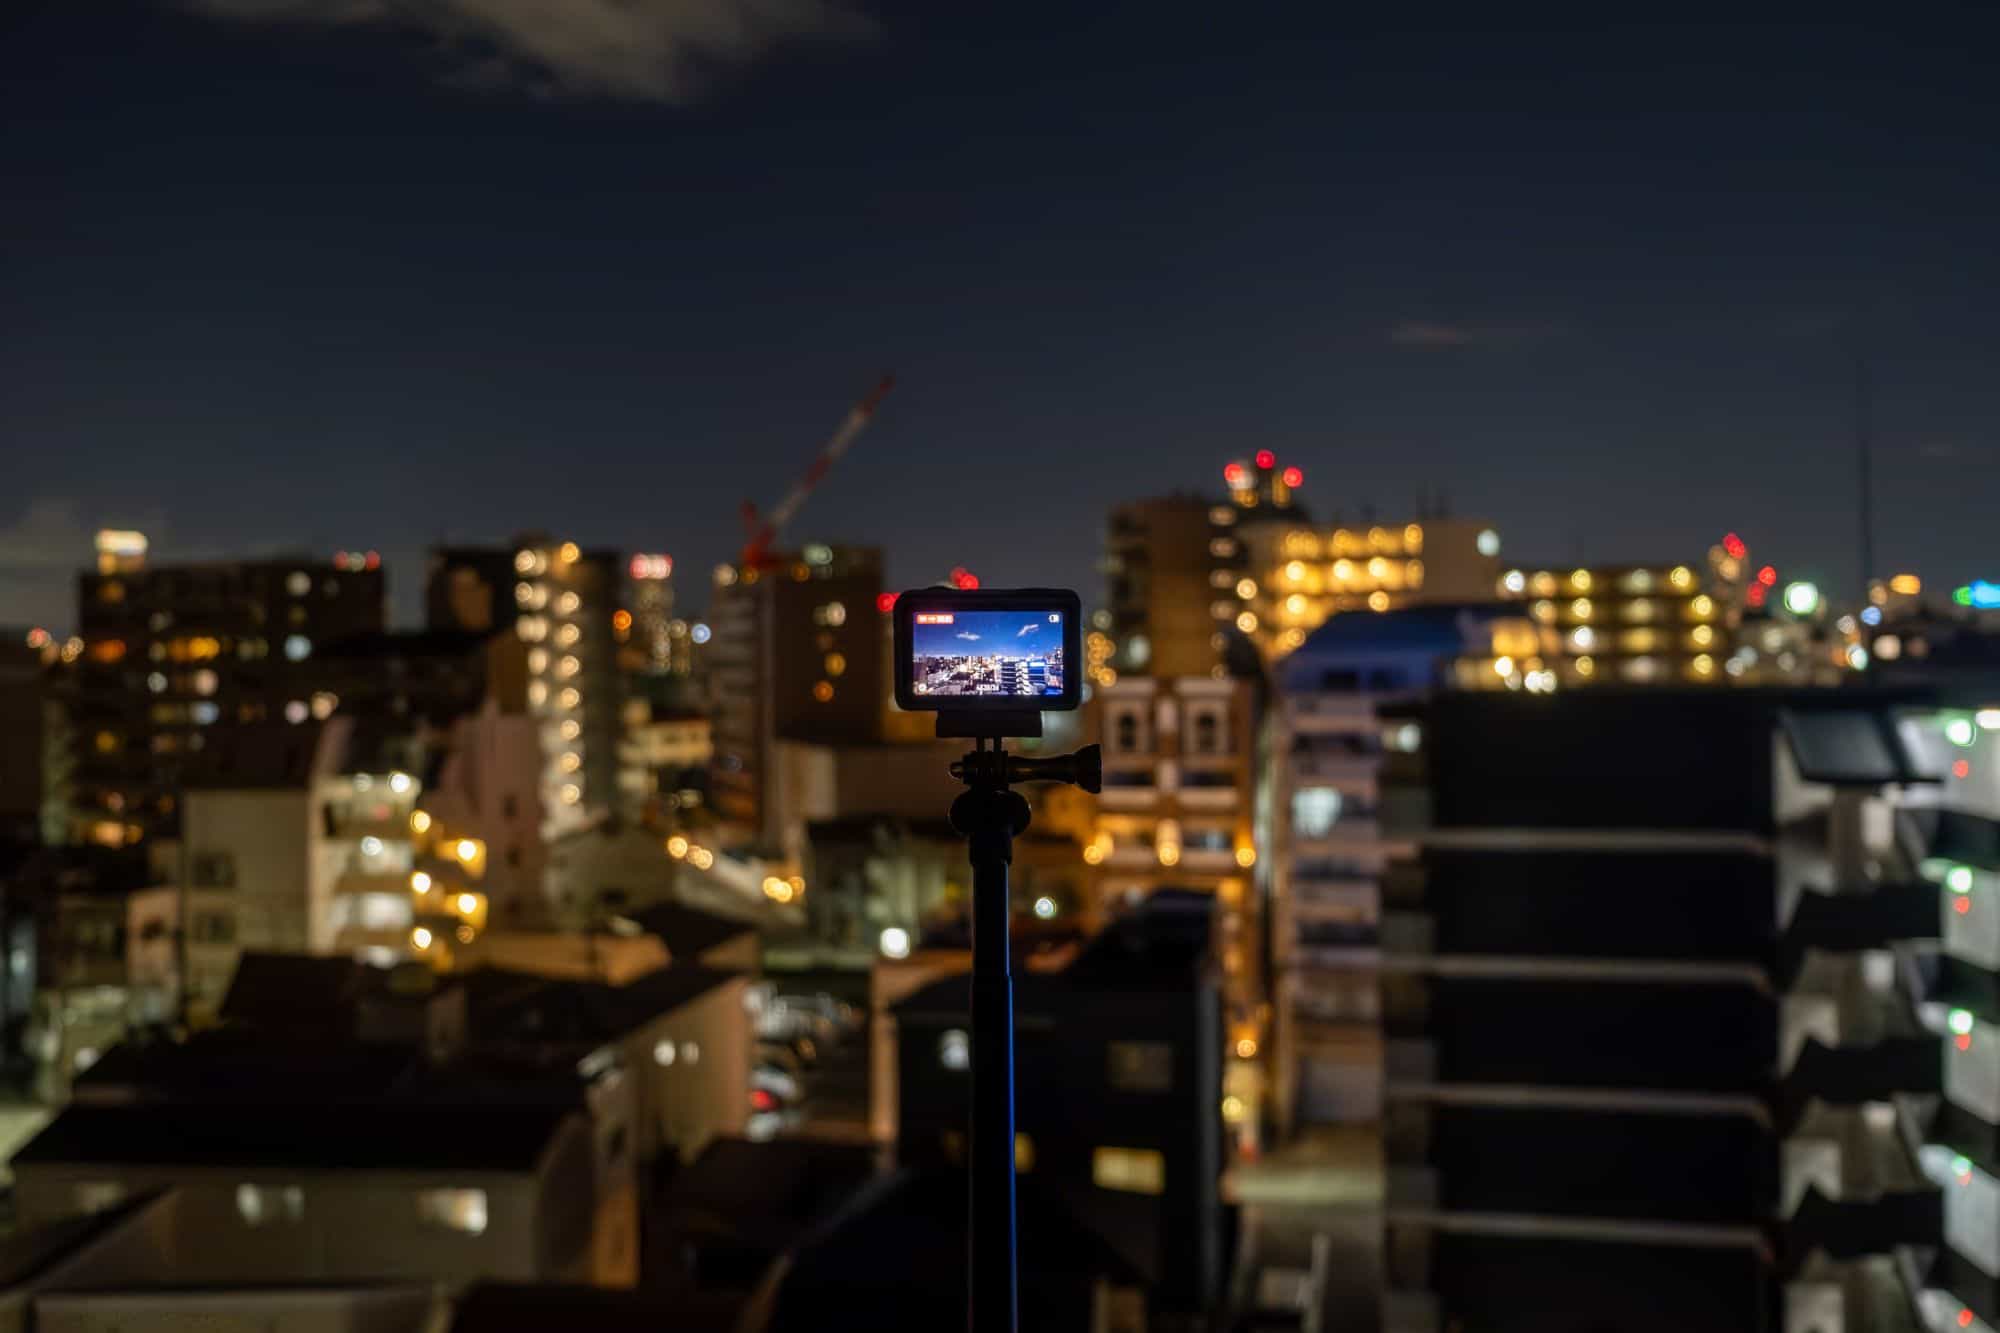
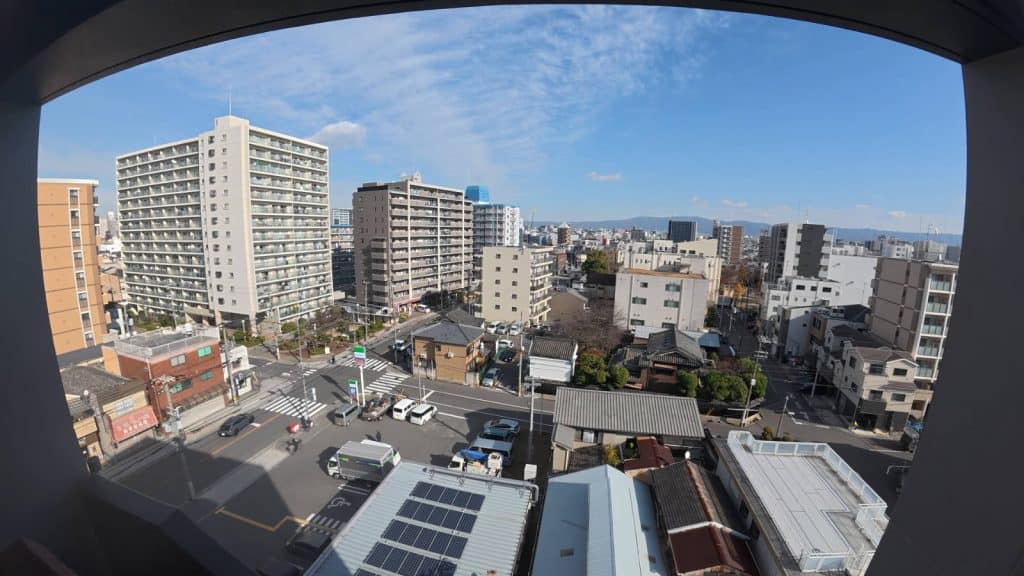
Let’s start with the basics: capturing your first timelapse on the DJI Osmo Action 5 Pro. For optimal results, mount your camera on a tripod. While it might be tempting to shoot handheld, doing so results in shaky footage as well as a fatigued arm! A stable tripod is all you need to ensure smooth, professional-quality footage.
1. Accessing Timelapse Mode
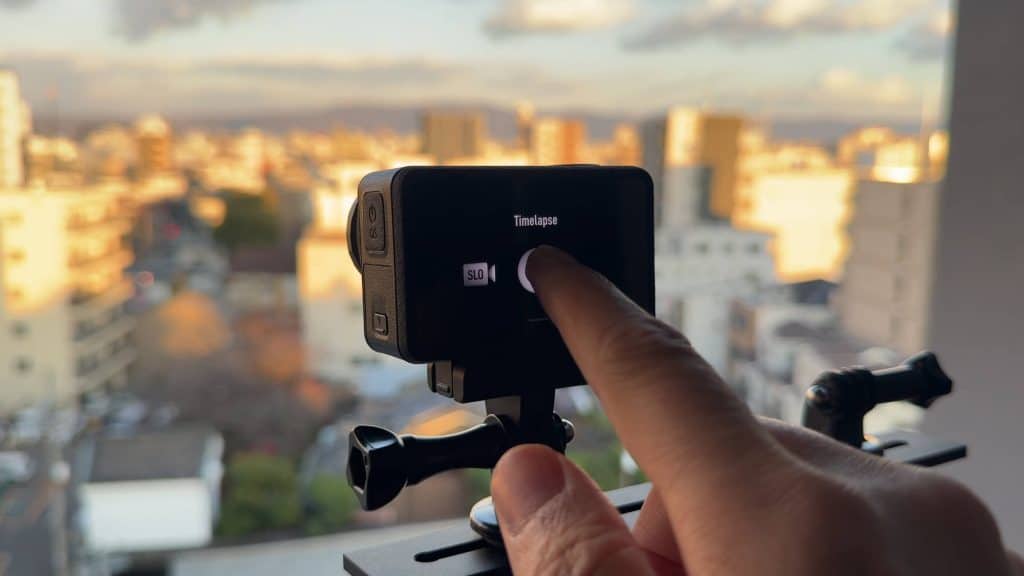
Begin by tapping the shooting mode icon located at the bottom-left corner of the screen. Scroll all the way to the end of the list until you see the Timelapse option.
2. Hit The Record Button!
For your first shot, stick with the default settings. I can’t remember exactly what the factory default is, but I believe it was capturing at something like a 2-second interval over 10 minutes.
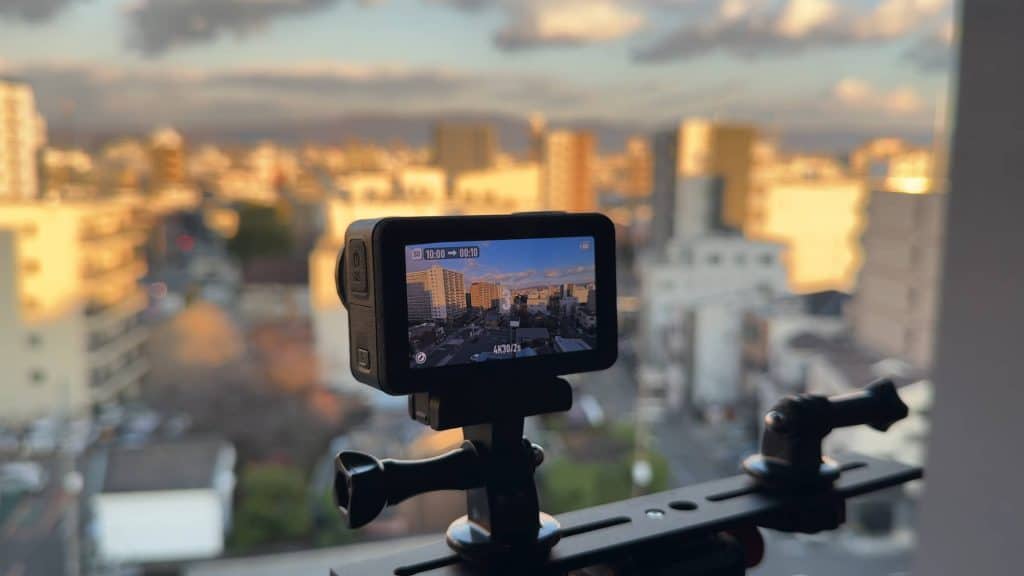
This would mean a 10-minute real-world scene would be compressed into a 30 frames per second, 10-second timelapse video.
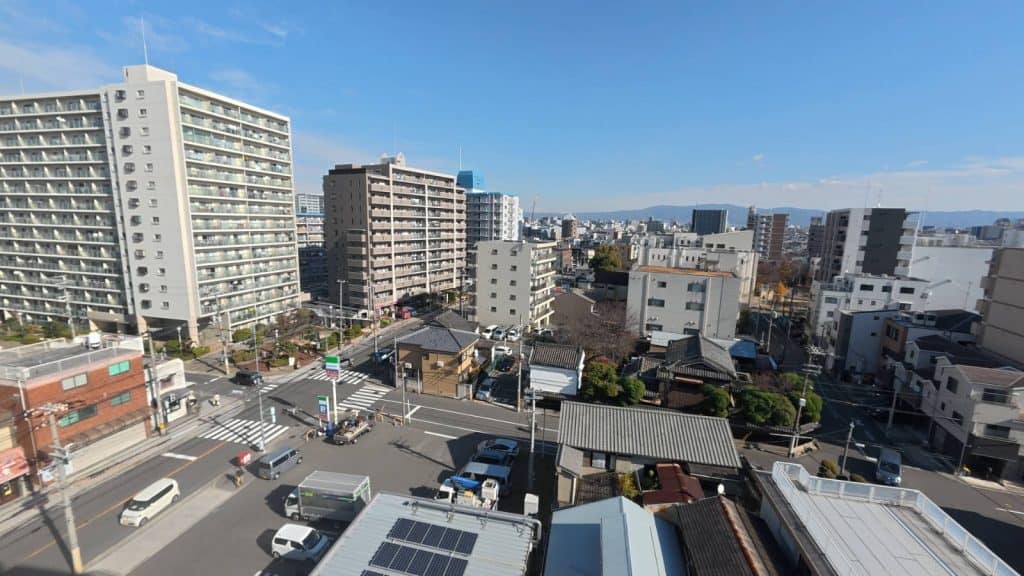
3. Capturing a Wider Scene
Now that you’ve taken your first timelapse, you can start to experiment with other settings!
By default, the Osmo Action 5 Pro operates in “Standard Dewarp” mode, which corrects the barrel distortion of its ultra-wide lens, ensuring straight lines in your footage remain straight. But what if you want to capture an even wider field of view?
Switching to “Wide” Mode:
Swipe up from the screen, and in the right it should say either “STD” or “Wide”. If it’s set to “STD”, tap it and choose “Wide” instead. By doing so, the camera expands its field of view. This mode can introduce a noticeable fisheye effect, which may or may not be desirable depending on your subject.
For instance, a sweeping landscape or a star-filled night sky can benefit from the expansive view, and the fisheye distortion won’t be as noticeable.
Mastering the Interval and Duration Settings
The interval—which is the time between each captured frame—is the most critical aspect of any timelapse. Here’s what you need to know:
Choosing the Right Interval
- Understanding the Interval:
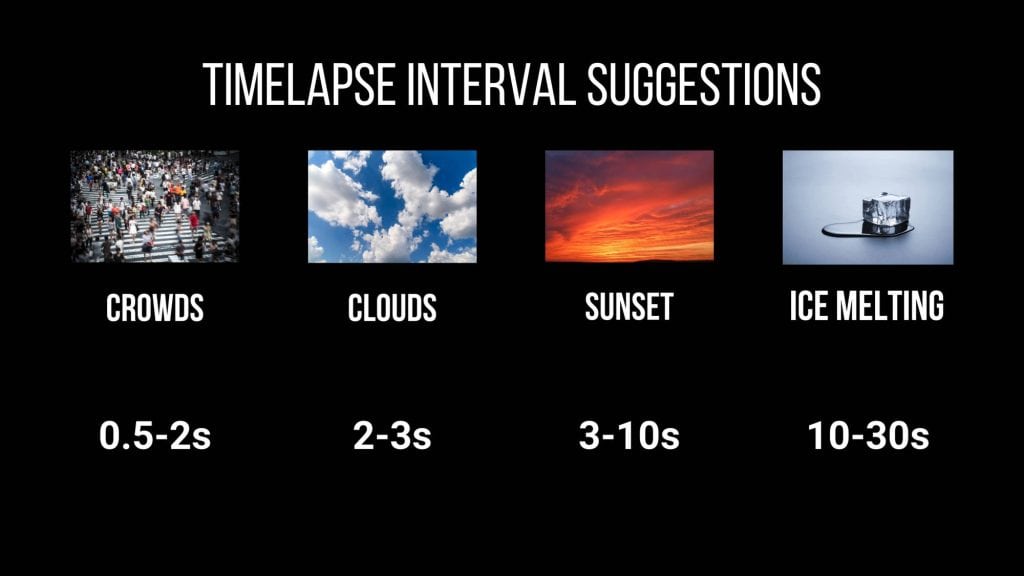
The interval is simply the number of seconds the camera waits before capturing the next photo. There’s no one-size-fits-all rule here. Instead, choose an interval based on the speed of your subject:- Faster-moving subjects (like bustling crowds) benefit from shorter intervals. This prevents the final video from appearing too jumpy.
- Slower subjects (like a growing plant) require much longer intervals to ensure that the changes over time are noticeable.
- General Guideline:
An interval of about 2–3 seconds works well for a wide variety of scenes.
Setting Interval and Duration on the Osmo Action 5 Pro
- Interval Presets:
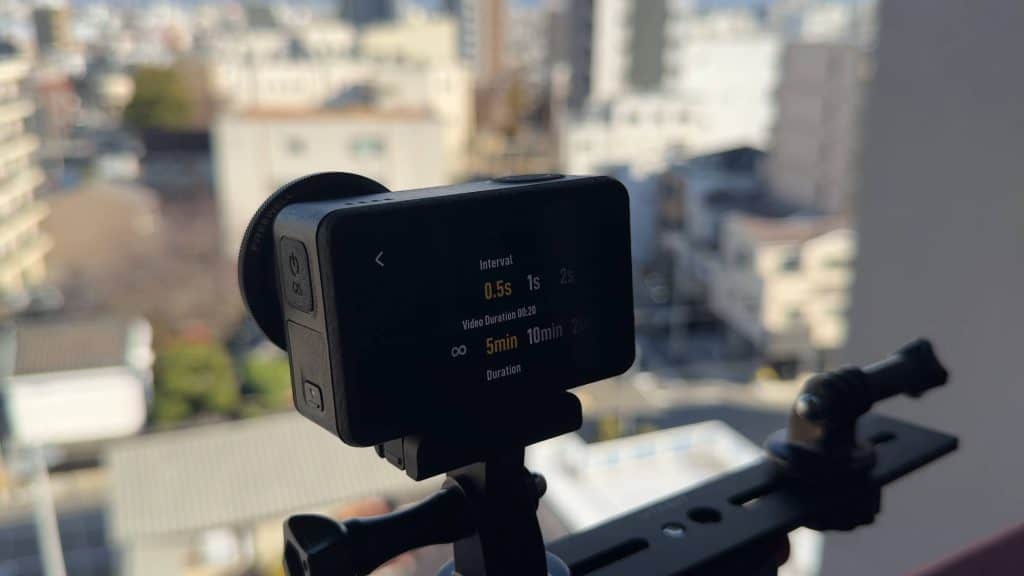
Swipe up from the bottom of the screen to access DJI’s preset intervals designed for specific scenarios—crowds, clouds, sunsets—and a Custom option that lets you set any interval between half a second and one hour. - Duration Options:
Directly below the interval settings, you’ll find the Duration option, which controls how long the camera will keep capturing photos. You can even select an Infinite duration and stop the recording manually whenever you’re satisfied with the footage. For preset durations, you always have the flexibility to stop early—the camera will simply save the footage captured up to that point.
Adding Motion Blur for a Smoother Look
Motion blur can add a dramatic, cinematic feel to your timelapses by smoothing out transitions and creating a more fluid motion effect.
How to Introduce Motion Blur
- Switch to Pro Mode:
To add motion blur, switch to Pro Mode by tapping the slider control icon on the right and select Manual Exposure settings. - Adjust the Shutter Speed:
Slow the shutter speed (for example, setting it to 1/10th of a second) to capture the scene for a longer duration, which creates the blur effect on moving subjects. However, be cautious: as the sensor has more time to pick up light, a slower shutter speed can lead to overexposure. - Using ND Filters:
To combat overexposure when lowering the shutter speed, attach an ND (Neutral Density) filter to the DJI Osmo Action 5 Pro. Think of ND filters as sunglasses for your camera—they reduce the amount of light hitting the sensor, allowing you to use slower shutter speeds without blowing out your image.
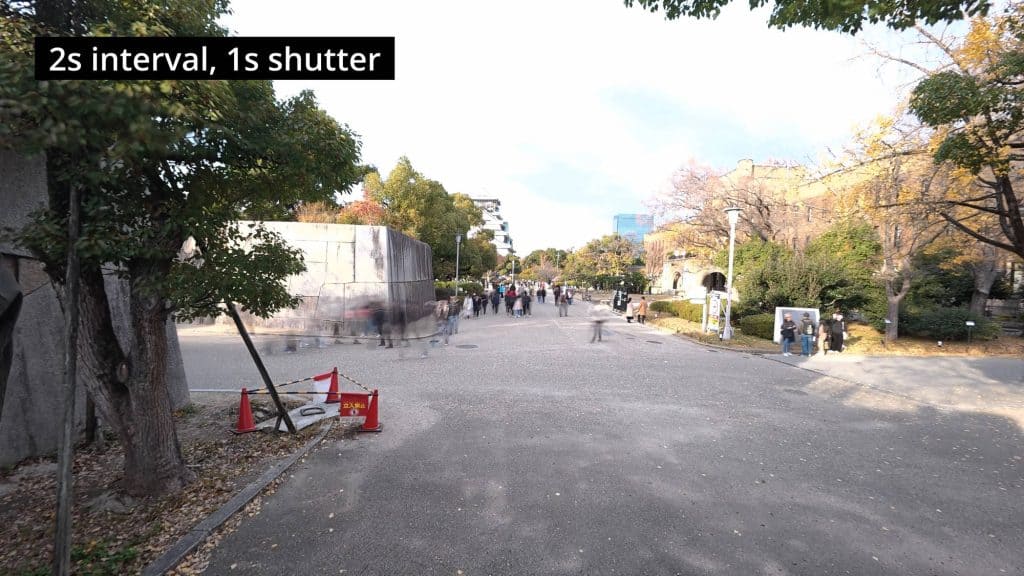
Capturing Motion Blur with Different Subjects:
The Osmo Action 5 Pro allows shutter speeds as slow as 30 seconds. This means you can capture beautifully blurred motion even with slow-moving subjects like people walking. However, in brighter conditions, even a 1-second shutter speed might require a very strong ND filter. I used an ND64 filter but overexposure still presented a challenge, and this is the situation when a ND1000 filter becomes useful.
Solving the Auto ISO Problem
One of the most challenging scenarios for any timelapse photographer is capturing the dramatic light shifts during sunrise or sunset—often referred to as “holy grail” timelapses. The significant change in light conditions during these times makes exposure management tricky.
The Issue with Auto ISO
By default the DJI Osmo Action 5 Pro will compensate for fading light by both slowing the shutter speed and increasing the ISO.
The problem is, as the sun sets, the Osmo Action 5 Pro will aggressively push the ISO into the thousands, resulting in footage that becomes noisy and muddy.
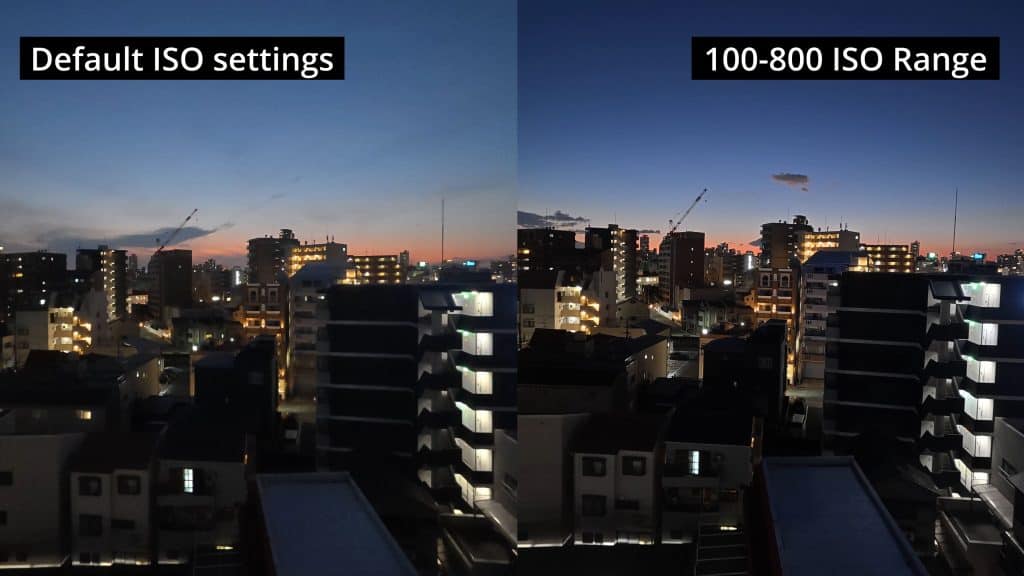
The Fix: Limit the ISO Range!
- Set an ISO Range of 100–800:
To avoid the pitfalls of high ISO noise, stay on auto exposure but manually limit the ISO range to 100–800. This forces the camera to rely on slowing the shutter speed rather than increasing the ISO, preserving image quality. - Consider the Interval Relationship:
Remember that the minimum shutter speed will always be slightly shorter than your interval. For example, if you’re using a 2-second interval, the slowest possible shutter speed is around 1 second. With a 4-second interval, it might drop to 3 seconds. Adjust your settings accordingly for the best balance between exposure and motion blur.
While the DJI default settings might make sense in scenarios with fast-moving objects—since varying motion blur could be noticeable—in more static scenes, limiting the ISO is a surefire way to improve your final result.
RAWs & JPEGs
One major advantage of using the Osmo Action 5 Pro for timelapses is its ability to automatically stitch individual frames into a final video. This saves you the hassle of importing countless photos into your editing software. However, for those who like a little extra control in post-production, saving the individual frames alongside the video is recommended.
You can make sure the stills are saved by going into pro mode and changing the Format. Instead of just “Video”, choose “Video + JPEG” or “Video + RAW”. These image files will then be stored in a separate Timelapse folder on your memory card.
RAW DNG files provide the most post-processing flexibility, allowing you to fine-tune colors or rescue a shot that didn’t turn out as expected. JPEGs are less useful, but they do take up considerably less space.
Note: When you activate Video + RAW mode, the minimum interval increases from half a second to two seconds. For most timelapse situations (which often use intervals of 2 seconds or more), this is not a major concern.
Keep in mind that RAW DNG files take up significant storage space (approximately 18 megabytes each). A 10-second timelapse shot with a 2-second interval can use over 5GB of space, so plan your memory accordingly.
AI to the Rescue: Enhancing Low-Quality Timelapses
Even with careful planning, sometimes your timelapse footage might not come out as perfectly as you’d hoped. A classic example is the “holy grail” timelapse of a sunset, where default exposure settings can cause the camera to crank up the ISO as the sun sets, leading to noisy and low-quality footage.

Improving Your Footage with AI
- Using Noise Reduction in DaVinci Resolve:
While I was able to slightly improve the clip using DaVinci Resolve’s noise reduction tools, the difference wasn’t dramatic enough. The footage still lacked clarity when compared to shots where I limited the ISO to 100–800. - Leveraging RAW Files with AI Tools:
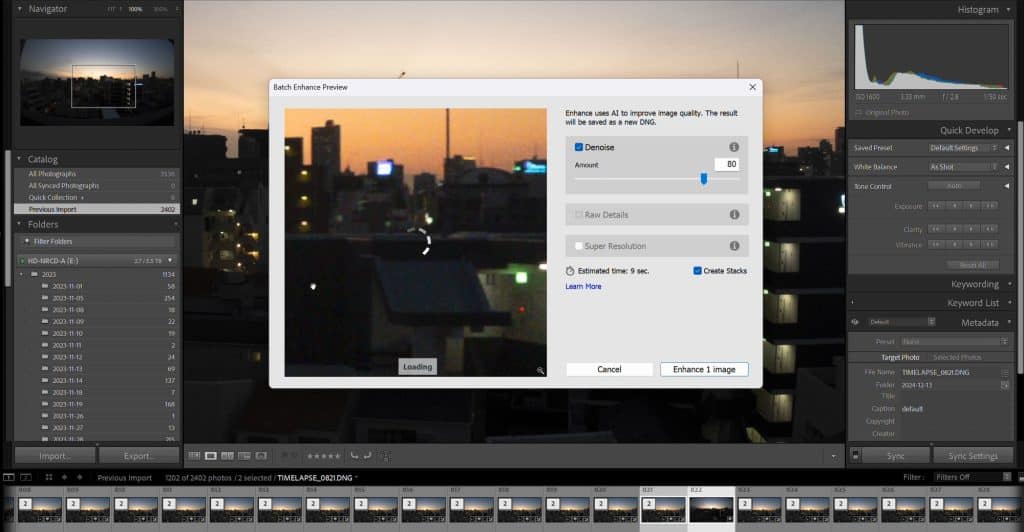
Fortunately, by saving the RAW files alongside the video, I had a backup plan. Running these RAW frames through Lightroom’s AI Denoise and Enhance feature transformed low-quality, noisy images into much sharper, cleaner versions. This process made a dramatic difference in the final output. - Other AI Tools:
- While Lightroom’s AI Denoise works only on RAW files, there are other options like Topaz Photo AI, which can enhance JPEGs.
- The key takeaway is that AI-based enhancement tools can be a lifesaver, especially when the in-camera processing isn’t enough to deal with challenging lighting conditions.
Note: RAW images, by their very nature, lack in-camera processing. This means they don’t come with automatic color adjustments, noise reduction, or lens corrections (like dewarping) that you might be used to. Be prepared to invest a significant amount of extra time in post-processing to achieve the desired look.
Conclusion
The DJI Osmo Action 5 Pro is an incredibly powerful tool for creating stunning timelapses, but like all creative processes, it comes with its own set of challenges. By understanding the basics—from setting up your first timelapse and selecting the right interval, to incorporating advanced techniques like motion blur, managing exposure, and utilizing AI enhancements—you can significantly improve the quality of your timelapse projects.
Remember, every great timelapse is a blend of art and science. With these tips and techniques in your toolkit, you’re well on your way to capturing breathtaking moments that tell a story, one frame at a time. Happy shooting!