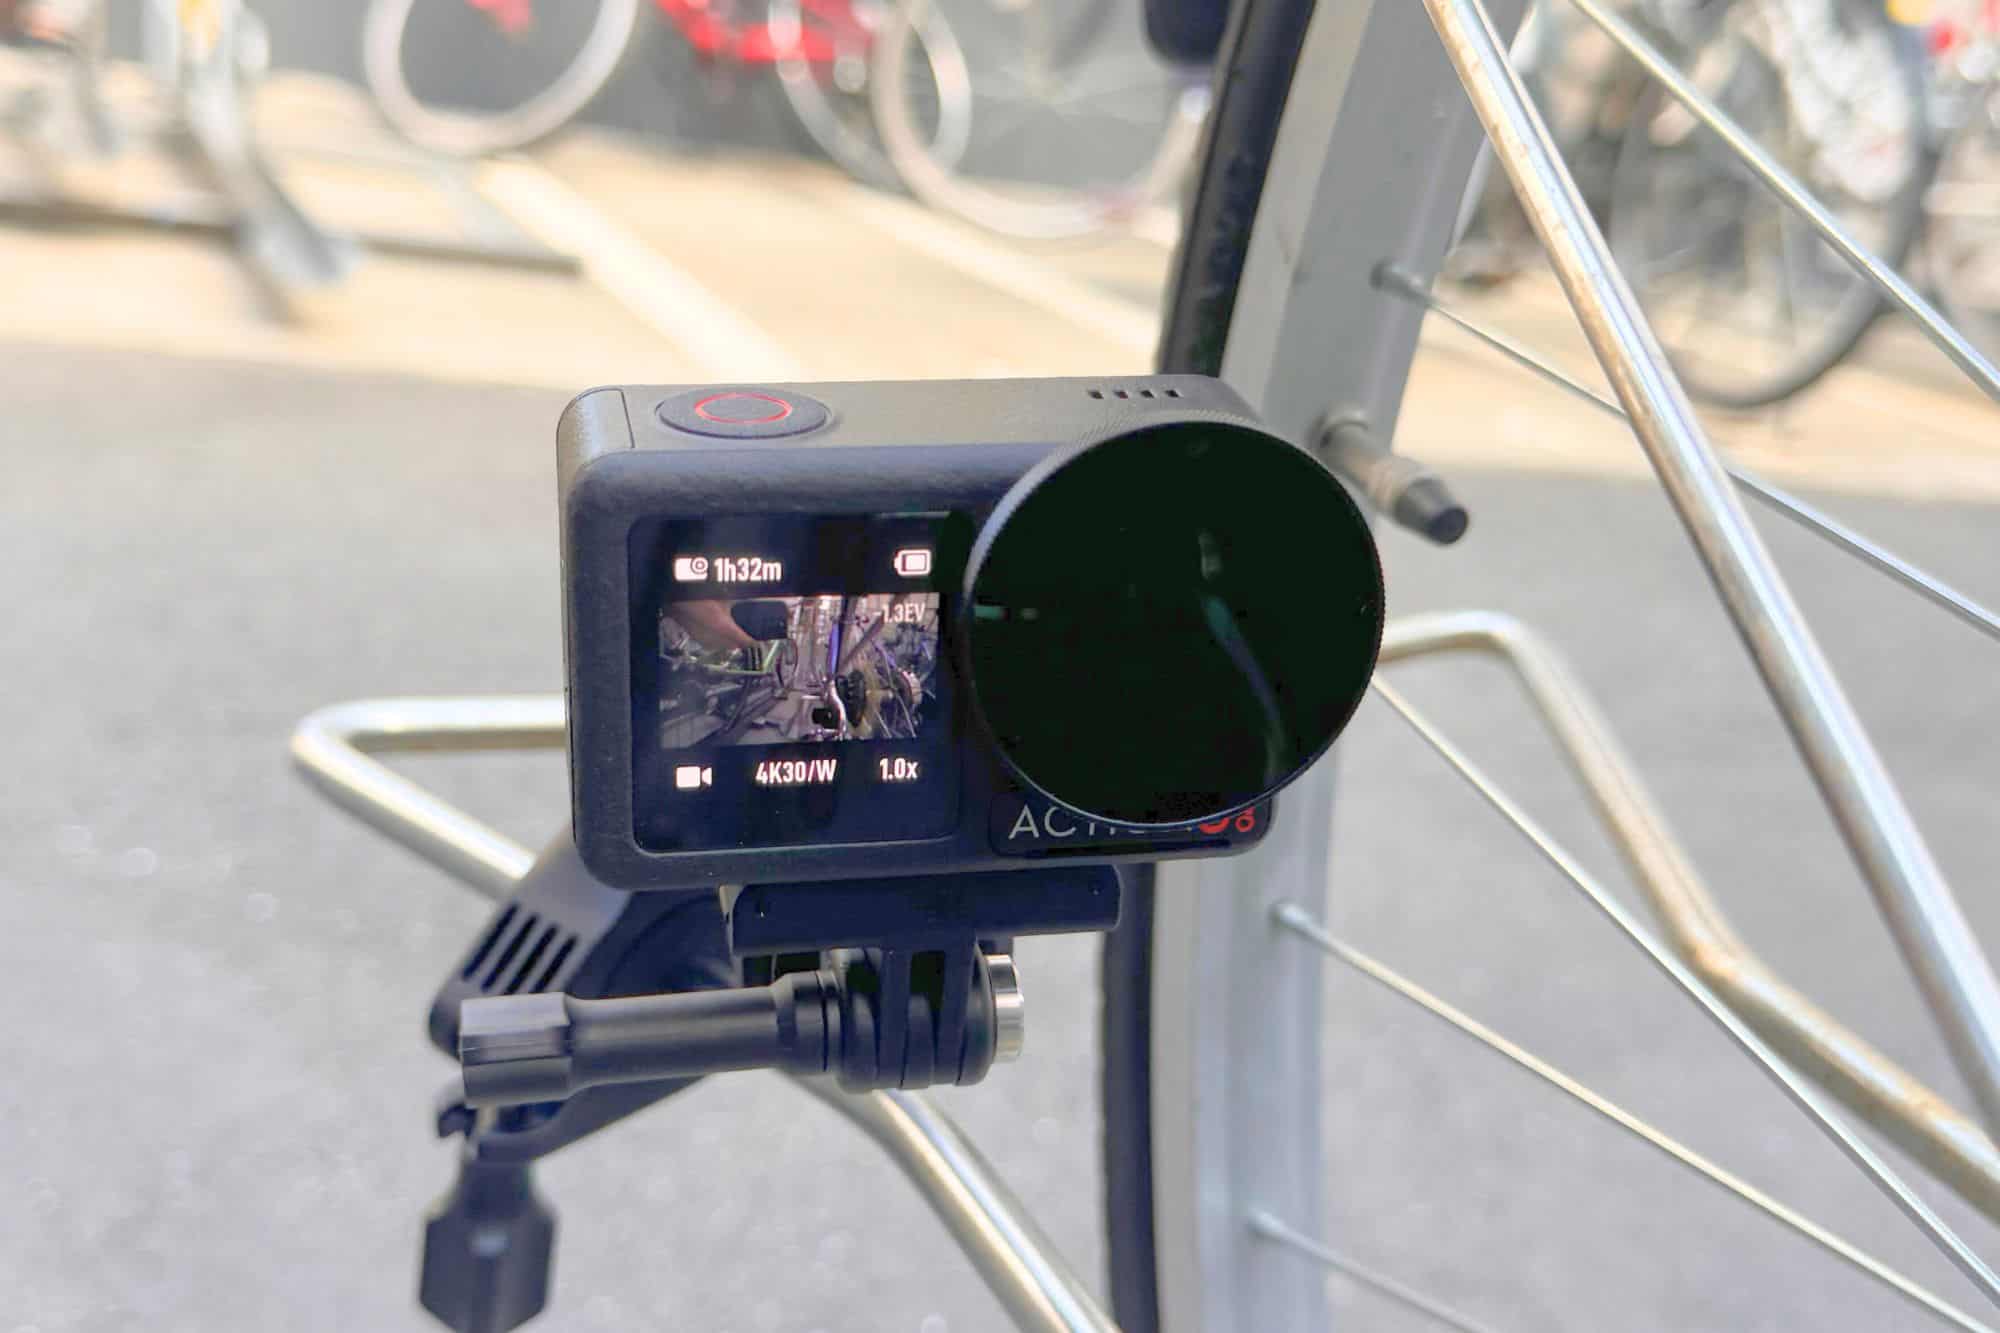
Action cameras have been around for a while, offering a convenient way to capture your adventures with minimal fuss. However, with the GoPro Hero Black 13, the focus shifted to new lens mods like ND filters designed to turn them into more serious filmmaking tools.
With the release of newer models like the DJI Osmo Action 5 Pro, it’s become easier than ever to experiment with tools that increase the production value of your videos.
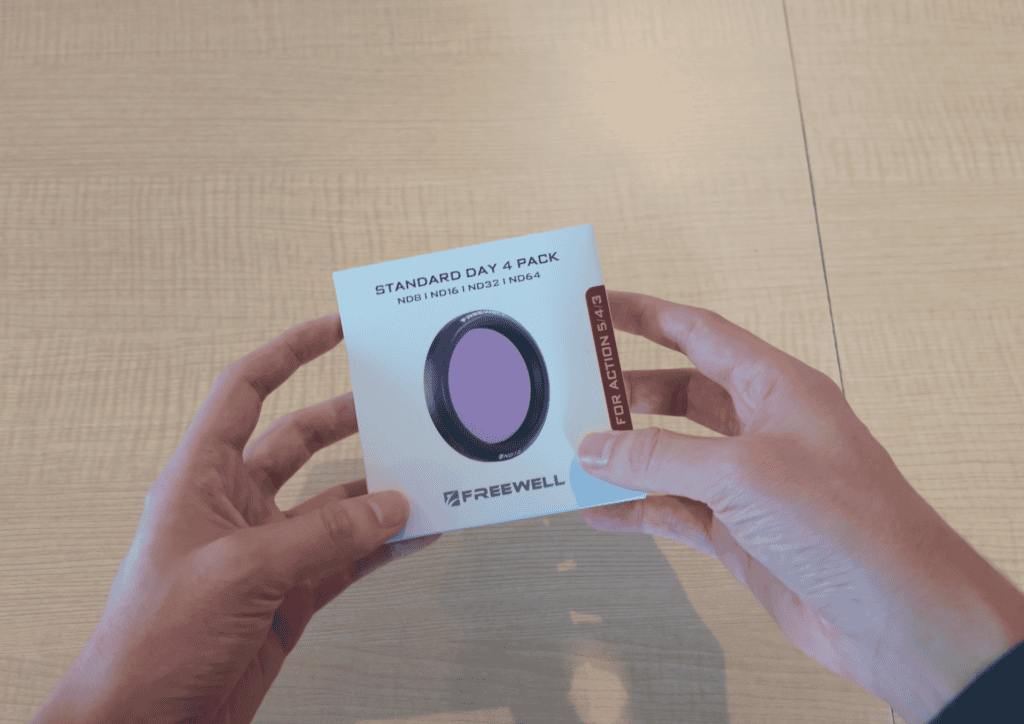
Recently, Freewell sent me a set of ND filters to review, which are considered one of the most essential accessories for filmmakers, because they allow you to drop the shutter speed and achieve natural motion blur.
However, there are caveats when it comes to using them with an action camera like the Osmo Action 5 Pro, because of their interaction with the camera’s electronic image stabilization (EIS). In this review, I’ll discuss whether or not ND filters are worth getting for your action camera, given this complicated relationship.
Why Use ND Filters?
Let’s start with the basics: what do ND filters do, and why are they essential for your action camera?
Imagine you’re shooting a 24fps video on auto settings. Without an ND filter, the footage often appears jittery and staccato-like because the camera uses a fast shutter speed to expose the scene correctly in bright environments. This lack of motion blur results in overly sharp frames, detracting from the smooth, cinematic look most creators aim for.
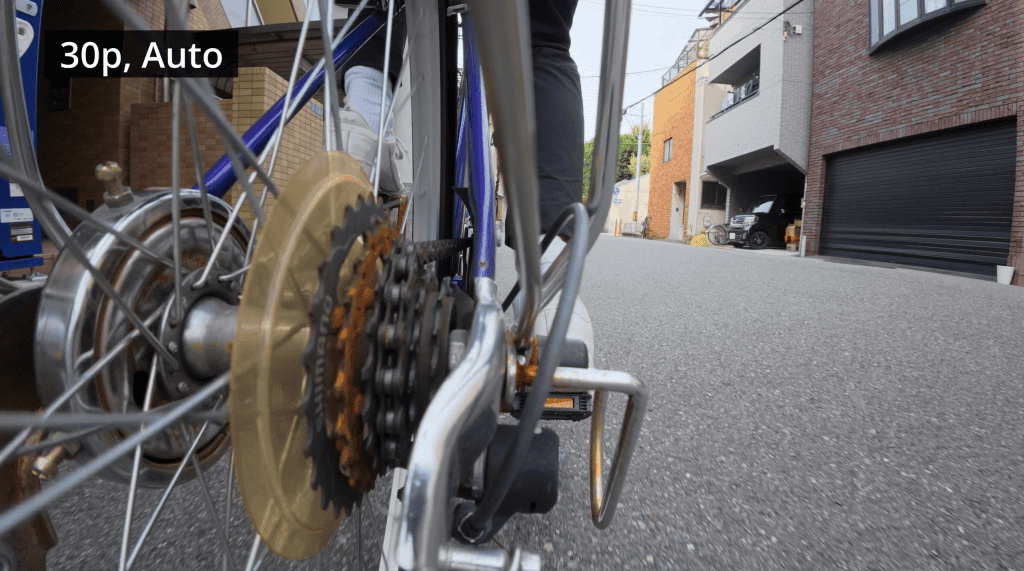
ND filters help reduce the shutter speed to a level that introduces natural motion blur. By limiting the amount of light entering the lens, they prevent overexposure and allow you to achieve the ideal shutter speed for cinematic visuals. For instance, following the 180-degree shutter rule, your shutter speed should be double your frame rate—e.g. 1/60th of a second for 30fps footage.
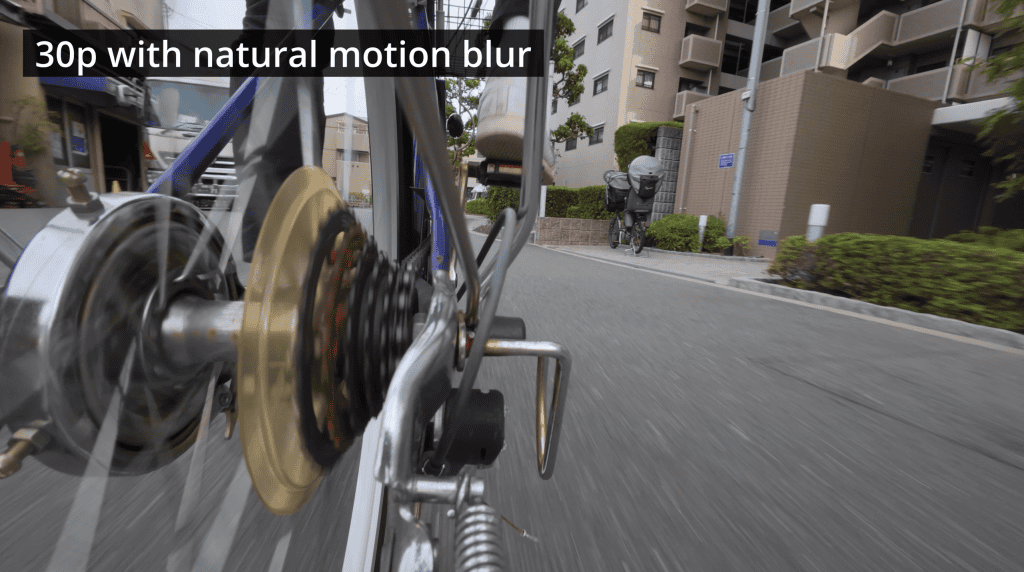
Freewell’s ND filters for the DJI Osmo Action 5 Pro come in a variety of strengths (ND8, ND16, ND32, and ND64), catering to different lighting conditions. I found myself reaching for the ND8 and ND16 most often since it’s been cloudy recently, and these filters would let me slow the shutter speed to 1/60th of a second for a decent amount of motion blur, without ending up with overexposed footage.
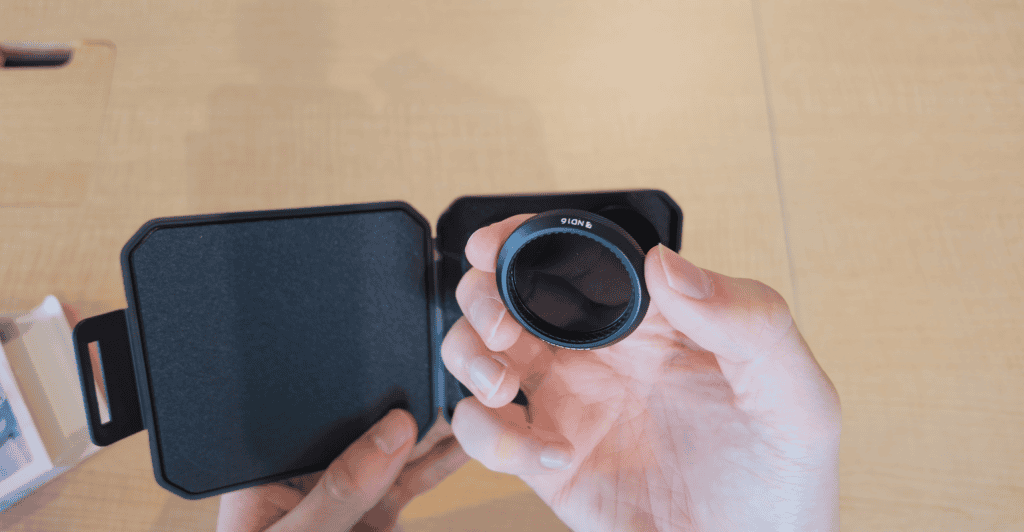
The EIS Problem!
While ND filters can transform your footage, they introduce a complication: their relationship with EIS. Electronic image stabilization works best with sharp frames and high frame rates, as it relies on reference points to align and stabilize the video. Slower shutter speeds—and the resulting motion blur—aren’t the ideal input for the stabilization algorithm to work with, leading to artifacts like jittering or ghosting.
This problem is particularly noticeable in dynamic scenarios like biking or walking, where there are a lot of small and sudden movements that the algorithm will try and smooth out. These are precisely the kind of scenarios where action cameras are most often employed! How often do you mount your action camera to a tripod, or use it while stationary? Not much, I imagine!
Given how most of us use our action cameras to film actual action, ND filters are a wasted accessory if they only end up producing unusable footage.
Luckily, there are ways to deal with the issue. Here are two approaches to tackle this issue and achieve stable, cinematic footage without sacrificing quality.
Approach 1: Deviate from the 180-degree rule
One common approach to deal with this issue, is to simply not strictly follow the 180-degree shutter rule. Instead, we lower the shutter speed to a value which still produces some motion blur, but allows the electronic image stabilization to work well without severely impacting the footage.
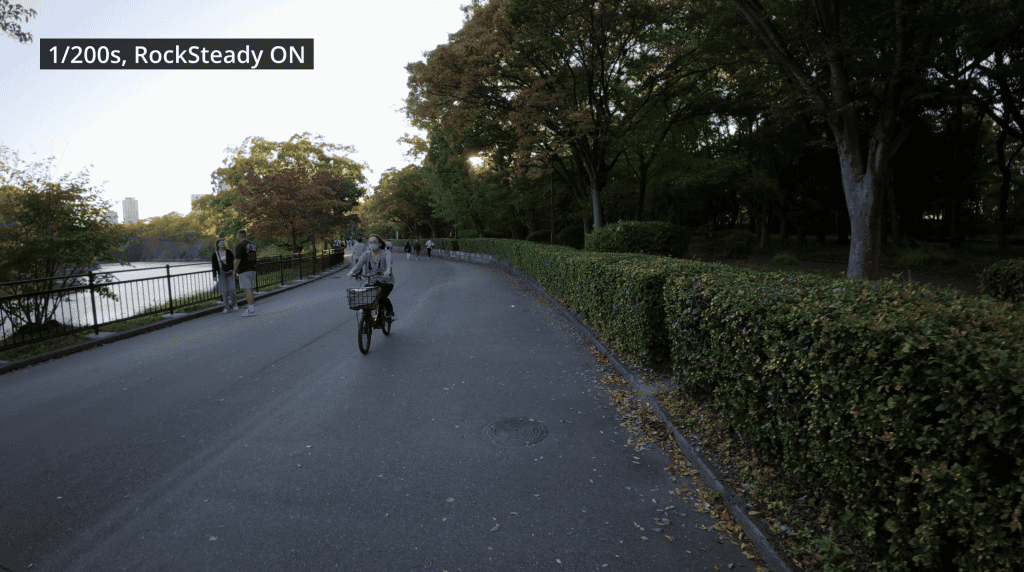
On the Osmo Action 5 Pro, a shutter speed of around 1/200th of a second works well. While the results aren’t as cinematic, it still gives us some motion blur to make the footage appear smoother and less choppy compared to clips shot at higher shutter speeds.
Approach 2: Gyroflow
However, I also had success with an alternative approach, where I was able to bring down the shutter speed to 1/60th of a second for truly natural motion blur, and without getting the dizzying artifacts I encountered before.
This method uses third-party software called Gyroflow to handle stabilization, instead of relying on the DJI Osmo Action 5 Pro’s built-in RockSteady stabilization.
Gyroflow stabilizes footage by using gyro data, so to ensure our footage includes this extra data, we need to set stabilization to ‘Off’ in the Osmo Action 5’s settings. Now we capture raw, unstabilized footage which doesn’t suffer from ghosting, but is too shaky to use in its current state.
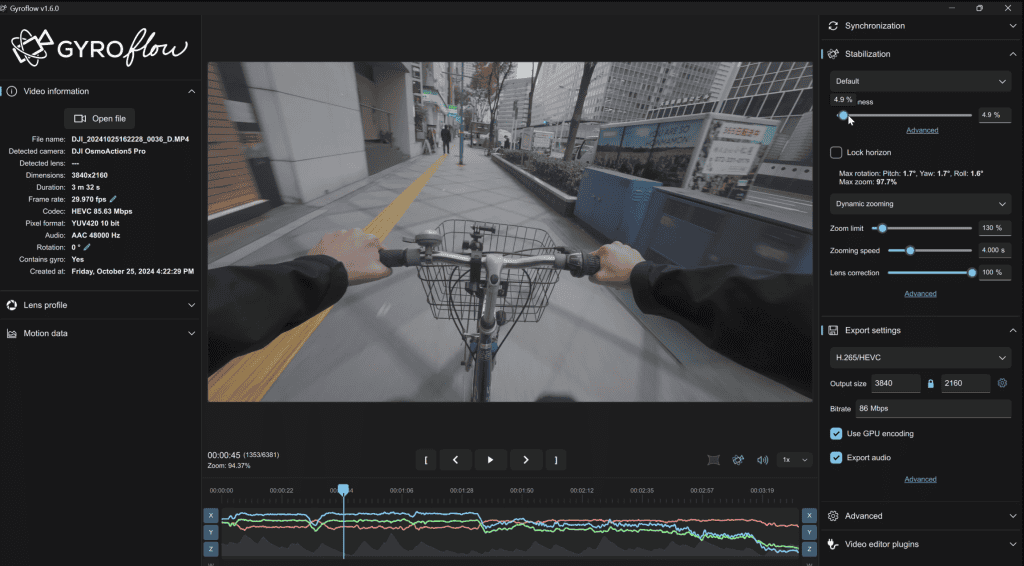
Now, what happens when I import this video file into Gyroflow? With the default settings, we’re facing exactly the same issue as before—noticeable artifacts from excessive stabilization. Basically, we’ve just changed from using DJI’s RockSteady algorithm to Gyroflow, to end up with similar results.
The advantage of Gyroflow, however, is that it gives us control over the level of stabilization we want to apply. By lowering the smoothness slider to around 4-5%, we achieve footage that’s less stable than RockSteady, but still much more stable than the source video, all while staying free of those EIS artifacts.
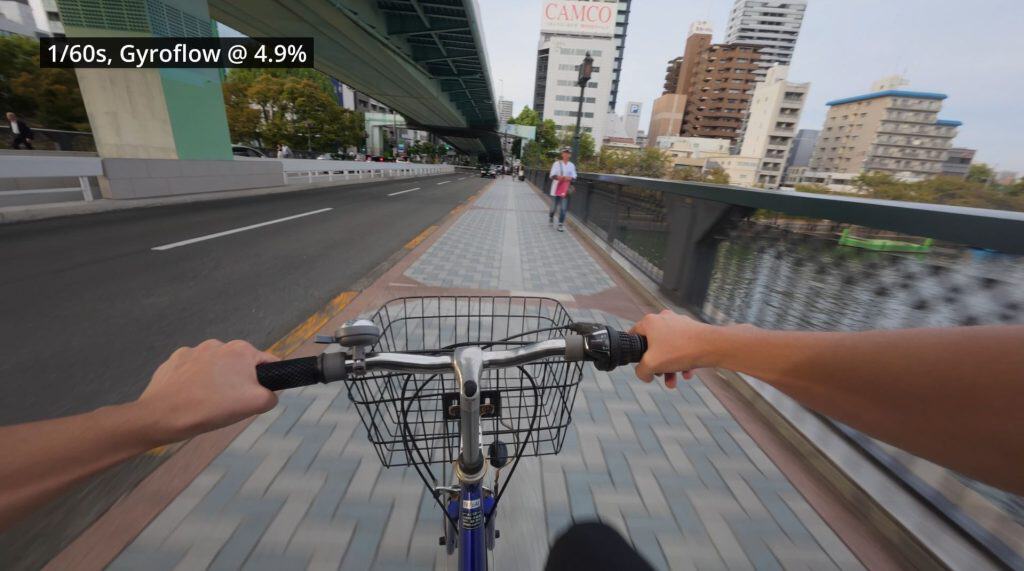
While the result isn’t as perfectly smooth or drone-like as RockSteady, it’s not shaky to the extent of being unusuable, and I actually quite like the natural amount of camera shake in the video.
The Gyroflow Method With Walking Footage
While the Gyroflow method worked well for bike footage—and should perform similarly in other relatively stable scenarios—the results weren’t as effective for walking shots.
This is because the impact of footsteps is fairly considerable compared to riding a bike on a smooth road. There’s still too much camera shake in the stabilized video, and increasing the stabilization slider much further will start to introduce noticeable EIS artifacting.
So, if you’re filming while walking, I’d suggest either increasing the shutter speed to around 1/200th of a second, as I mentioned before, or using a gimbal with your action camera.
I’d also argue that this isn’t a significant issue, as the amount of motion blur at a walking pace is inherently less noticeable. While the differences between having motion blur and not when cycling or motovlogging can result in vastly different and impactful footage, the effect when walking is subtler and less transformative overall.
Conclusion
So, are ND filters worth buying for the Osmo Action 5 Pro? Well, they’re definitely not for everyone. Using them does add complexity to your workflow, since you’ll need to select the right ND filter based on lighting conditions and find a way to manage the EIS issue—whether that means using a gimbal, adjusting your shutter speed instead of strictly following the 180-degree rule, or finding the stabilization sweet spot in Gyroflow.
However, if you’re aiming to improve the production quality of your footage and capturing relatively smooth shots, like on a bicycle or motorbike, ND filters are absolutely worth it. They’ll not only give your footage a more natural look but also enhanced the sense of speed in your videos.
